Calibrate your scanner
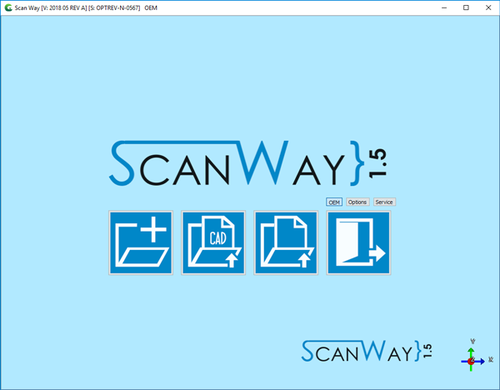
キャリブレーションを行うには、ようこそページでService(サービス)をクリックして、サービスモードに入ります。
サービスページでは、ユーザーはスキャナーの接続状況を確認したり、スキャナーの正常動作に必要なすべてのキャリブレーションを実行したりすることができます。詳しくは、サービスのページを参照して下さい。
このページでは、スキャナーのキャリブレーション方法を説明します。
ヘッドのリキャリブレーション
このツールを起動するには、ヘッドのキャリブレーション ボタンをクリックします。
キャリブレーションには、2つのタイプがあります:
- リキャリブレーション
- 高速に行えるタイプで、定期的にスキャナーのキャリブレーションを更新したり、スキャナーを動かした際などに実行します
- フルキャリブレーション
- より複雑なタイプで、スキャナー修理後に実行します
スキャナーの光学ヘッドの新規キャリブレーションを実行するため、このツールはキャリブレーションキットを使います。以下の手順で行います:
- キャリブレーションキットをスキャナー内部の正しい位置に置きます
- ドロップダウンメニューから正しいキャリブレーションタイプを選択します
- キャリブレーションダイアログ画面では、ドロップダウンメニューから正確なキャリブレーションキット名を選択します
- Startをクリックします
If the calibration kit name is not available in the drop down menu, the Load New Master Xml button can be used to add a new calibration kit from the appropriate Xml description file.
The calibration procedure is automatic. Once finished, the software will show one of the following messages:
- 'Scanner Already Calibrated' : the calibration is not necessary
- 'Scanner Recalibrated Successfully' : the calibration has been completed
- 'Scanner Recalibration Failed' : calibration has to be repeated
If the calibration was successful, the Axes Calibration starts automatically.
Recalibrate Axes
This tool is used to check the movement system of the scanner. The scanner will scan an object, analyze it, and use this data to calibrate the movement system.
This tool will start automatically after a Head Recalibration or can be started manually with the button.
When the Dynamic Articulation Module is enabled, calibrate the axis with the specific Axis Calibration Object. From that moment on, any recalibration needs to be performed with the same object. Otherwise, axis recalibration will fail.
The software will show an image of the object needed to calibrate the scanner: either the calibration object (if the Dynamic articulation module is active on the license) or a stone model.
- Put the calibration object inside the scanner
- Click Recalibrate Axis
- Click Ok when prompted
The calibration procedure is automatic. Once it is finished, the software will show one of the following messages:
- 'Axes Recalibration Successfull' : the calibration has been completed,
- 'Axes Recalibration Successfull, Dynamic Articulation Calibration Failed' : the calibration has been completed, however the dynamic articulation positioning will not work. This message shows when the dynamic articulation module is active on the license, but the scanner has been calibrated with a normal stone model.
- 'Axes Recalibration Failed' : calibration has to be repeated
Color Calibration
This last calibration, that can be opened by clicking on the icon , allows to calibrate the acquired colors of the scanner to have realistic color results.
To calibrate the colors, hold a piece of paper in front of the cameras, as prompted by the message, and click OK.
It is important that the whole field is covered by the white paper. Take a look at the following pictures to replicate a correct positioning of the white sheet.
