Example: Cemented
In this page will be followed and explained the wizard for scanning 2 models in occlusion with 3 dies (2 upper and 1 lower).
Contents
Project definition starting from Exocad
To create this project in Exocad, click on the DentalDB icon on your desktop. The project manager will open.
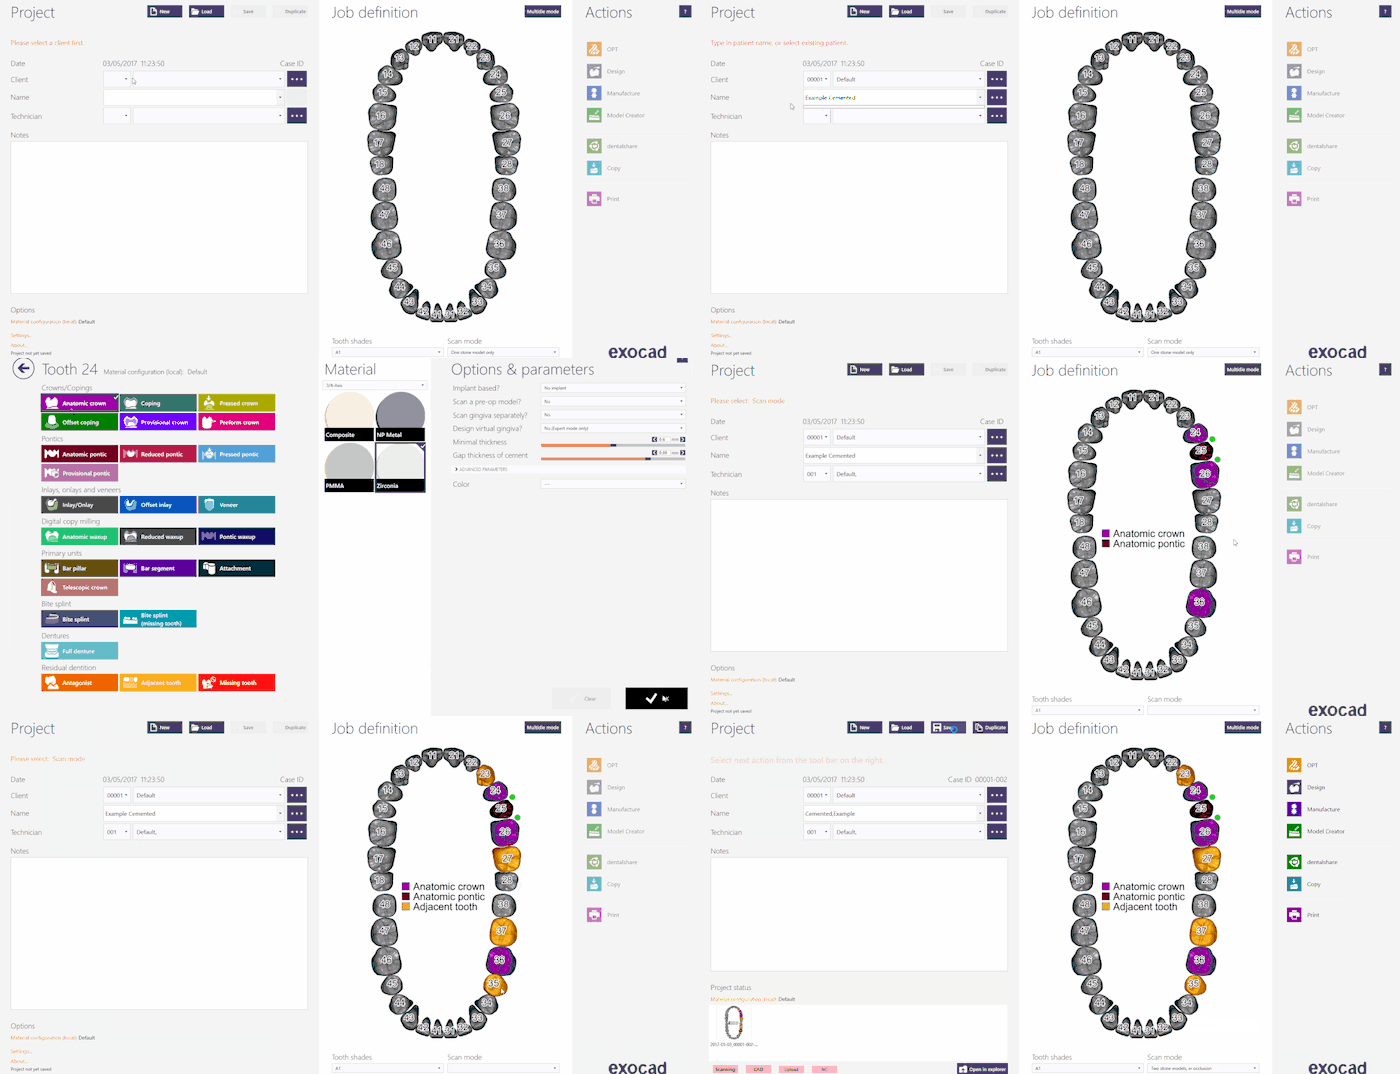
Fill in the project information, the kind of restoration that needs to be designed and the extra parameters. For this kind of project make sure that the Scan Mode is set on Two stone models in occlusion.
For further information on how to create projects in Exocad, visit the specific page on the Exocad Wiki!
Here is the project definition for our demo project:
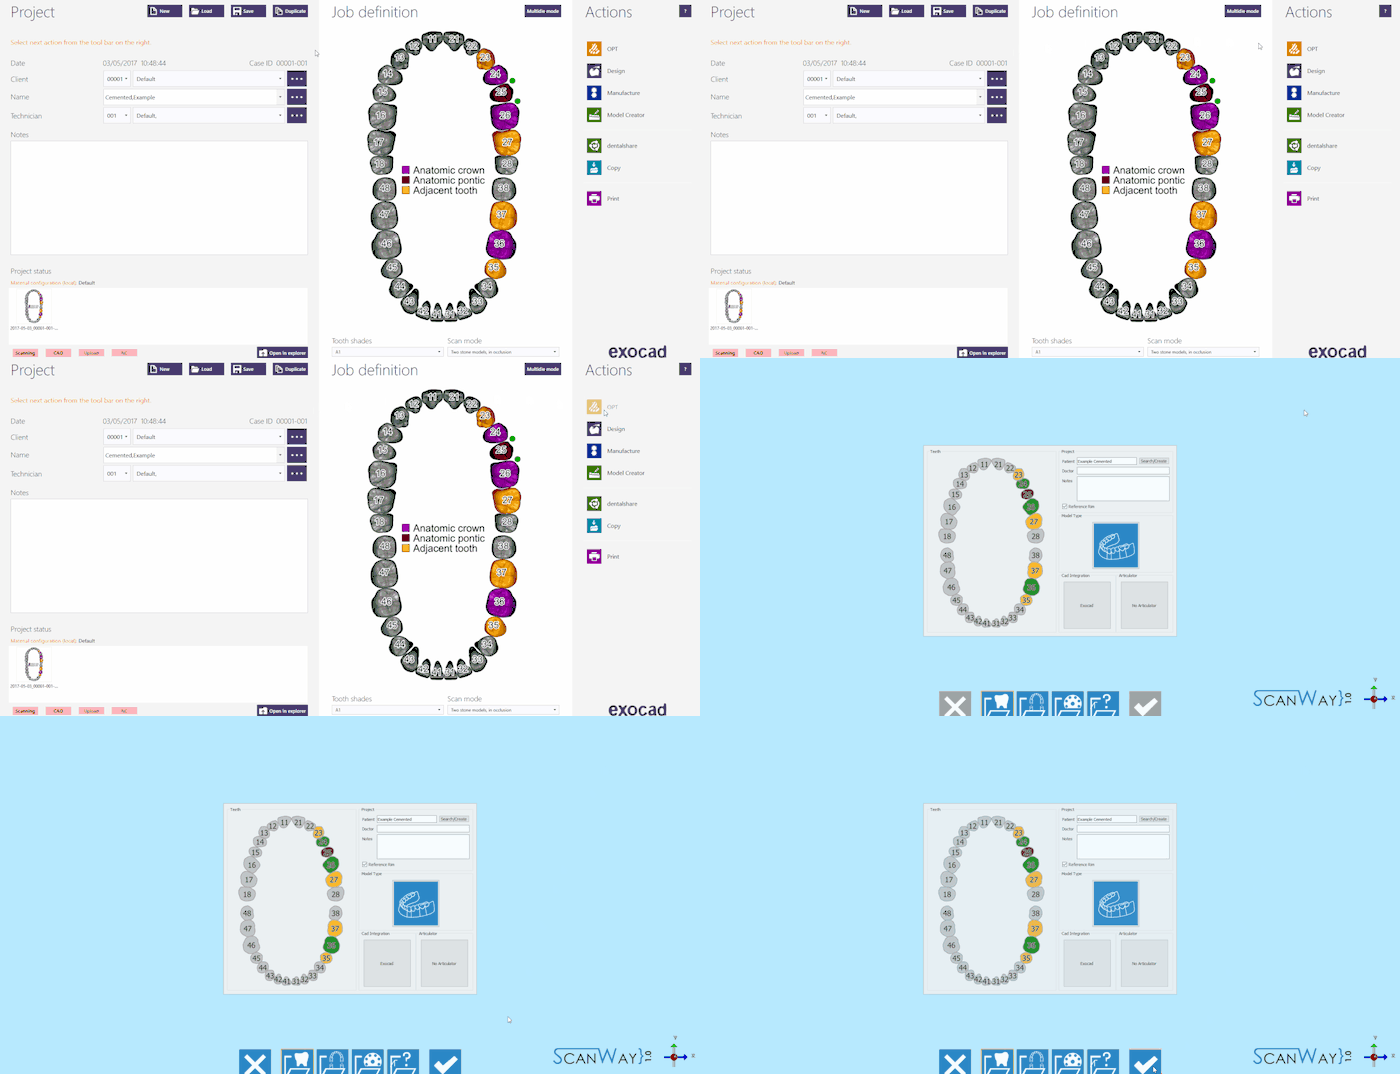
Once the project has been defined just click OPT in the Actions section to launch the scanning software.
The first thing the scanning software shows is the project created in Exocad, if the project is correctly defined click the Accept Button ![]() .
.
Project definition starting from ScanWay
All projects can be defined in the scanning software as well, regardless the CAD that will be later on used to design.
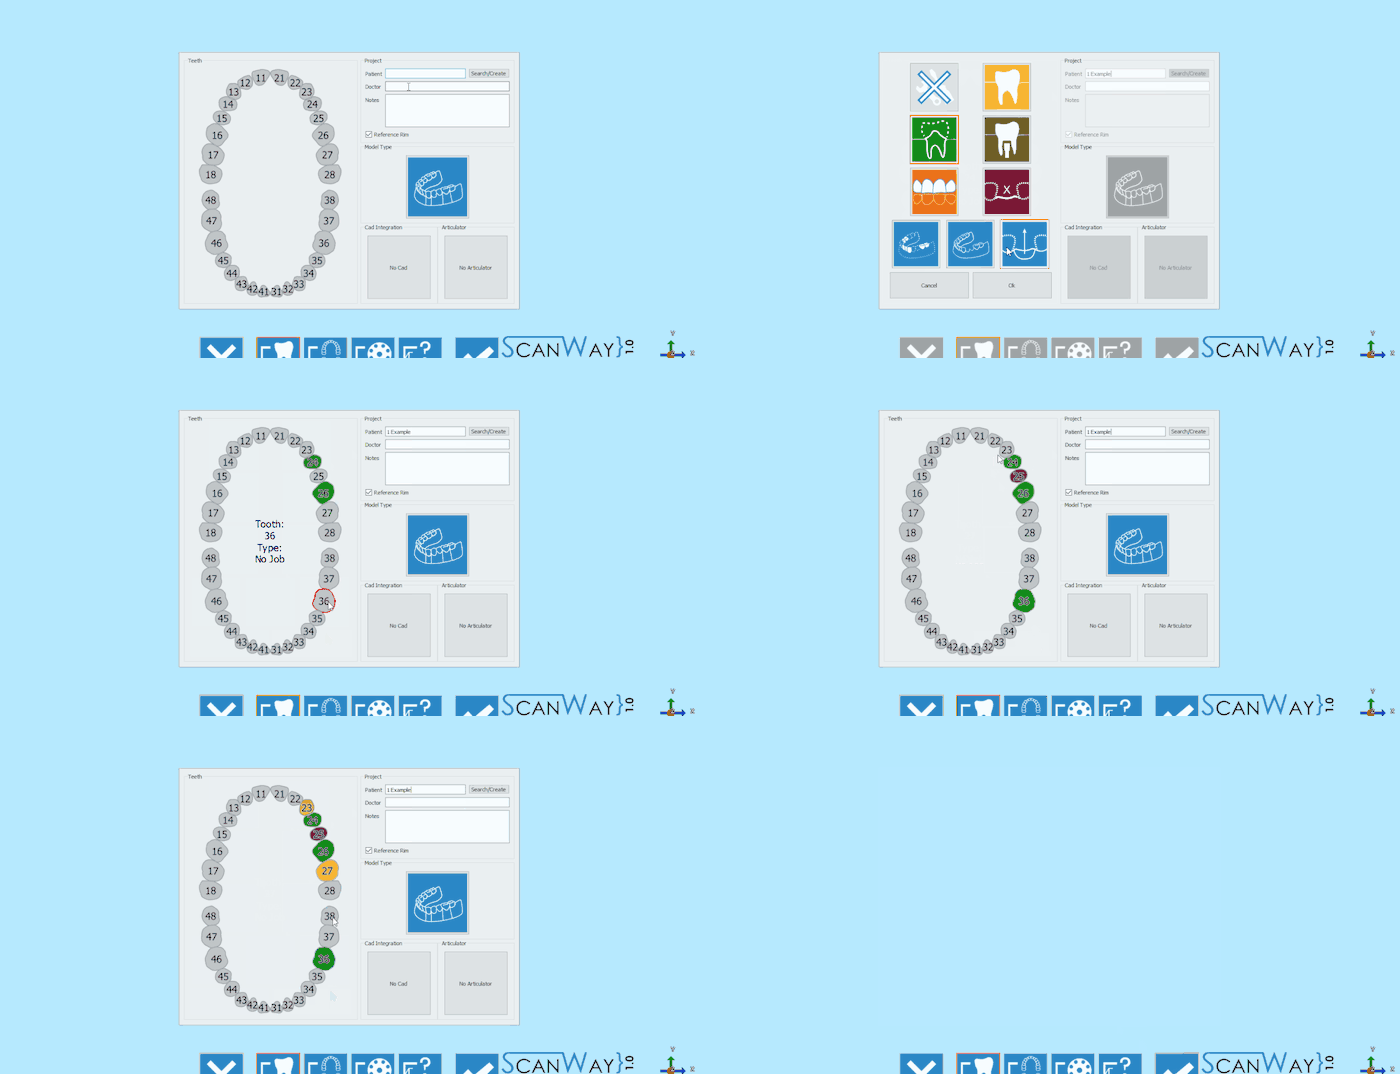
Launch the scanning software double-clicking on the ScanWay icon on your desktop. The Welcome Page will open; to create the project click on the first icon.
For detailed information on how to define a project visit the specific page: Create a New Project.
Here is the definition of our demo project:
Both the project definitions described lead to the same wizard, which will be now followed step by step.
Step 1: Articulator Scanning
The first step of any project that has been set to have both jaws, is the Articulator Scan.
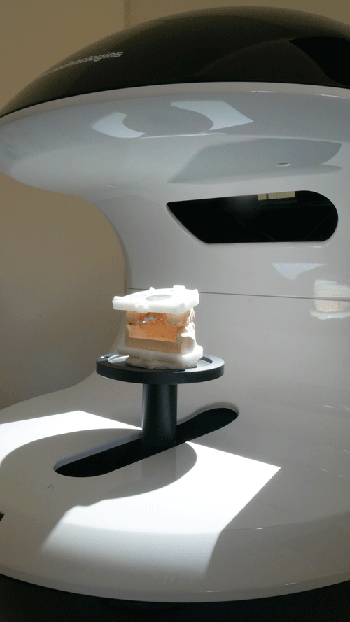
For Articulator scan it is not necessarily meant that an Articulator needs to be scanned; the required scan is the acquisition of the occlusion either using the articulator on its specific support or putting the two models in occlusion on the model holder.
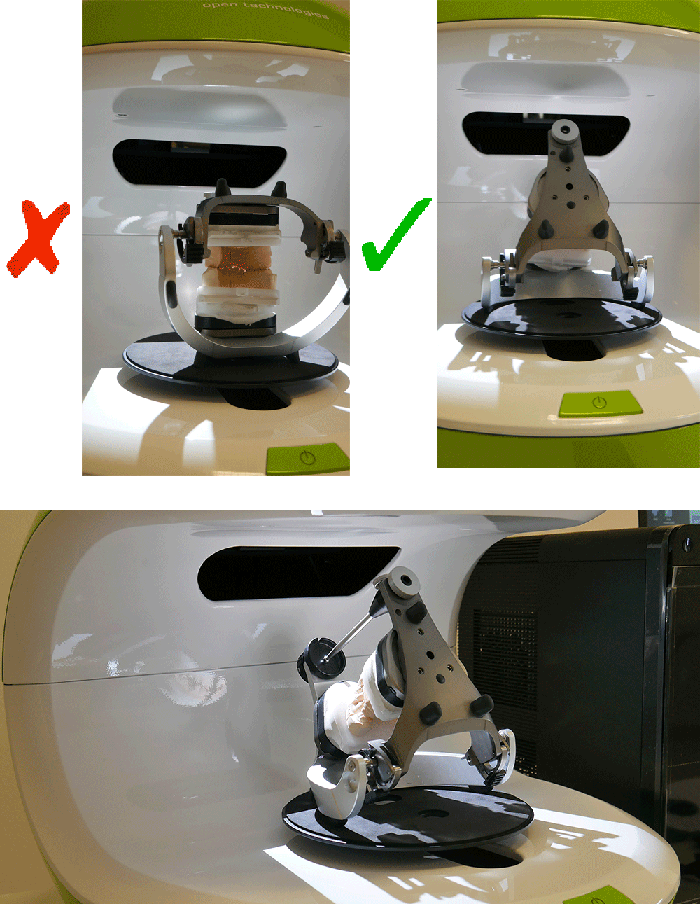
If the user needs to scan an articulator, we suggest to tilt it backward, to be able to get as much information as possible. This is just a suggestion as not all articulators can be tilted.
In the live view of the scanning interface, you can actually see that if the articulator is standing straight it will be difficult to acquire the occlusion properly.
On the other hand, as previously mentioned, it is also possible to scan the two models in occlusion on the normal model holder held together with rubber bands or wax if necessary.
Once the objects have been placed in the scanner (either the articulator or the models one on top of the other), the scan can be started with the Scan Button![]() . Once the scan is finished the result will be shown.
. Once the scan is finished the result will be shown.
For further information on the other available functions check the Scan Interface page.
Click ![]() to access the second step of the wizard.
to access the second step of the wizard.
Step 2: Lower Model
The second step of any project that has been set to have both jaws, is the Lower Model Scan. All steps, except for the articulator one, include two sub-steps: the actual scan and the edit of the acquired image.
Scan Step
Place the lower model on the model holder and click the Scan Button![]() . Once the scan is finished the result will be shown.
. Once the scan is finished the result will be shown.
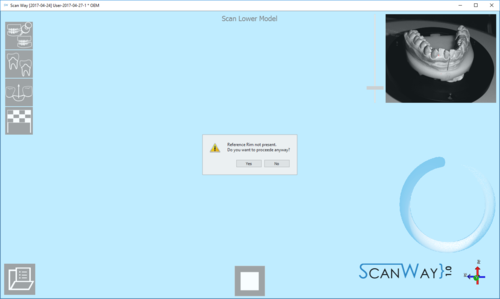
This scan has been performed with the Reference Rim. Every time the user launches a scan for models, dies or markers, if the software recognizes that the reference rim has not been used the following message shows.
The user can, therefore, decide whether to cancel the scan, put the reference rim on the model holder and start a new scan or to scan without using the reference rim. For information on the reference rim visit the Accessories page.
Click ![]() to access the second part of the Lower model step.
to access the second part of the Lower model step.
Edit Step
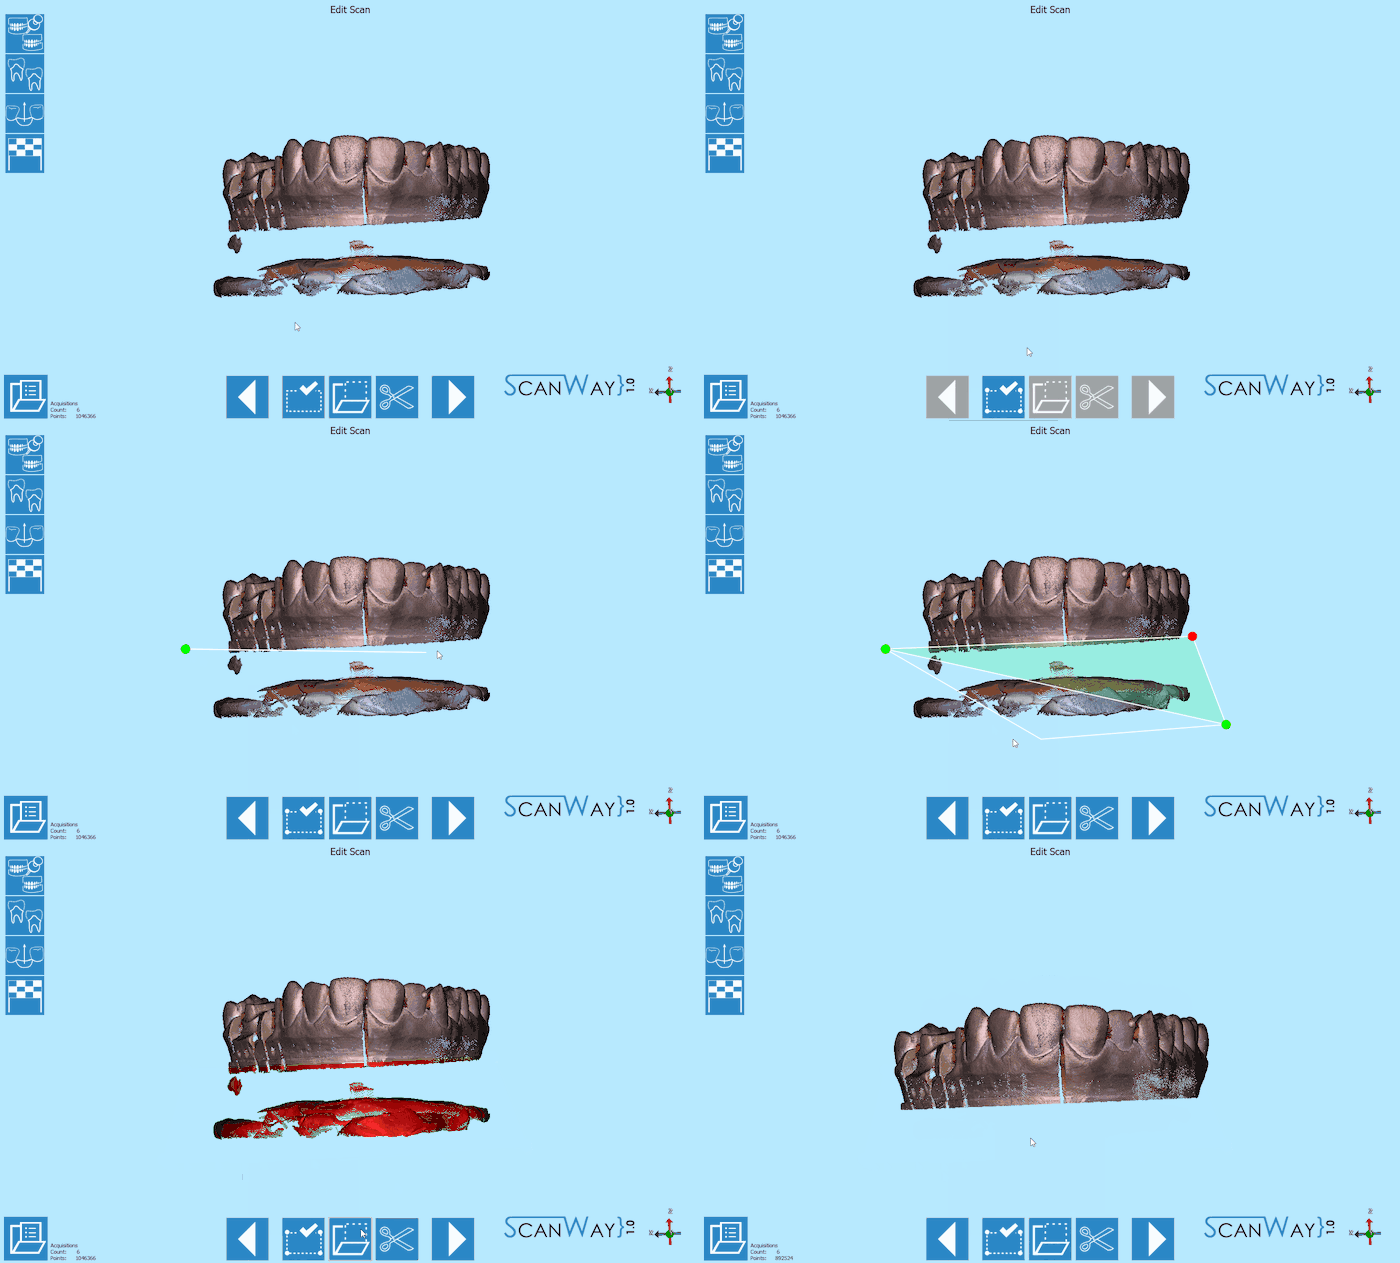
This step allows to edit the acquired image; for detailed information on all the available options in this step visit the Edit Tools page.
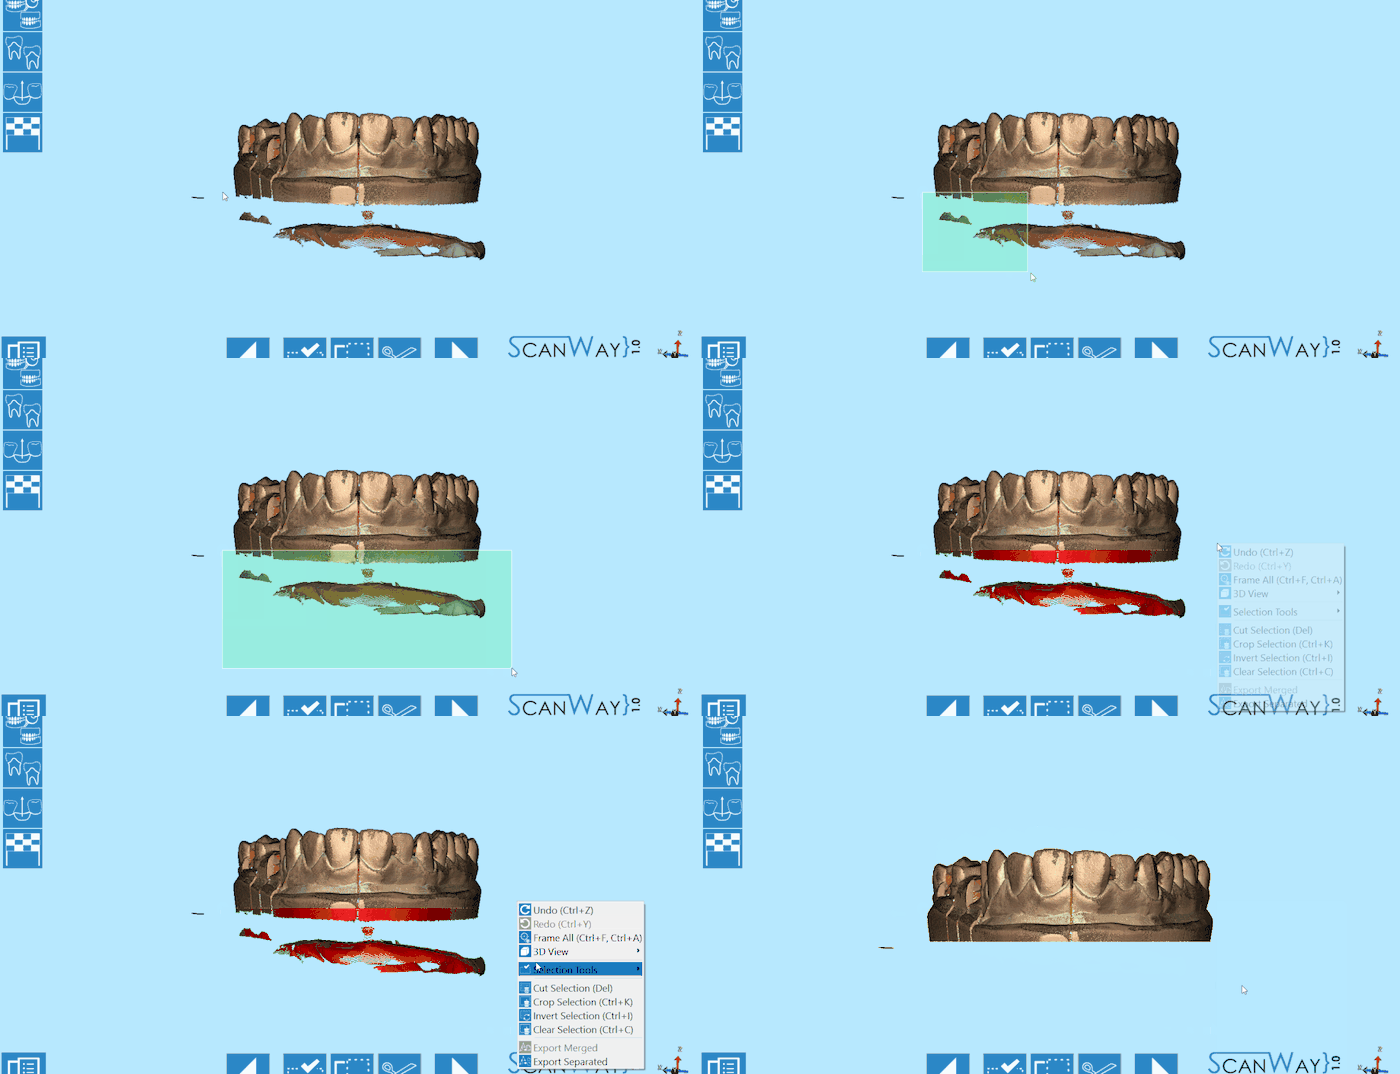
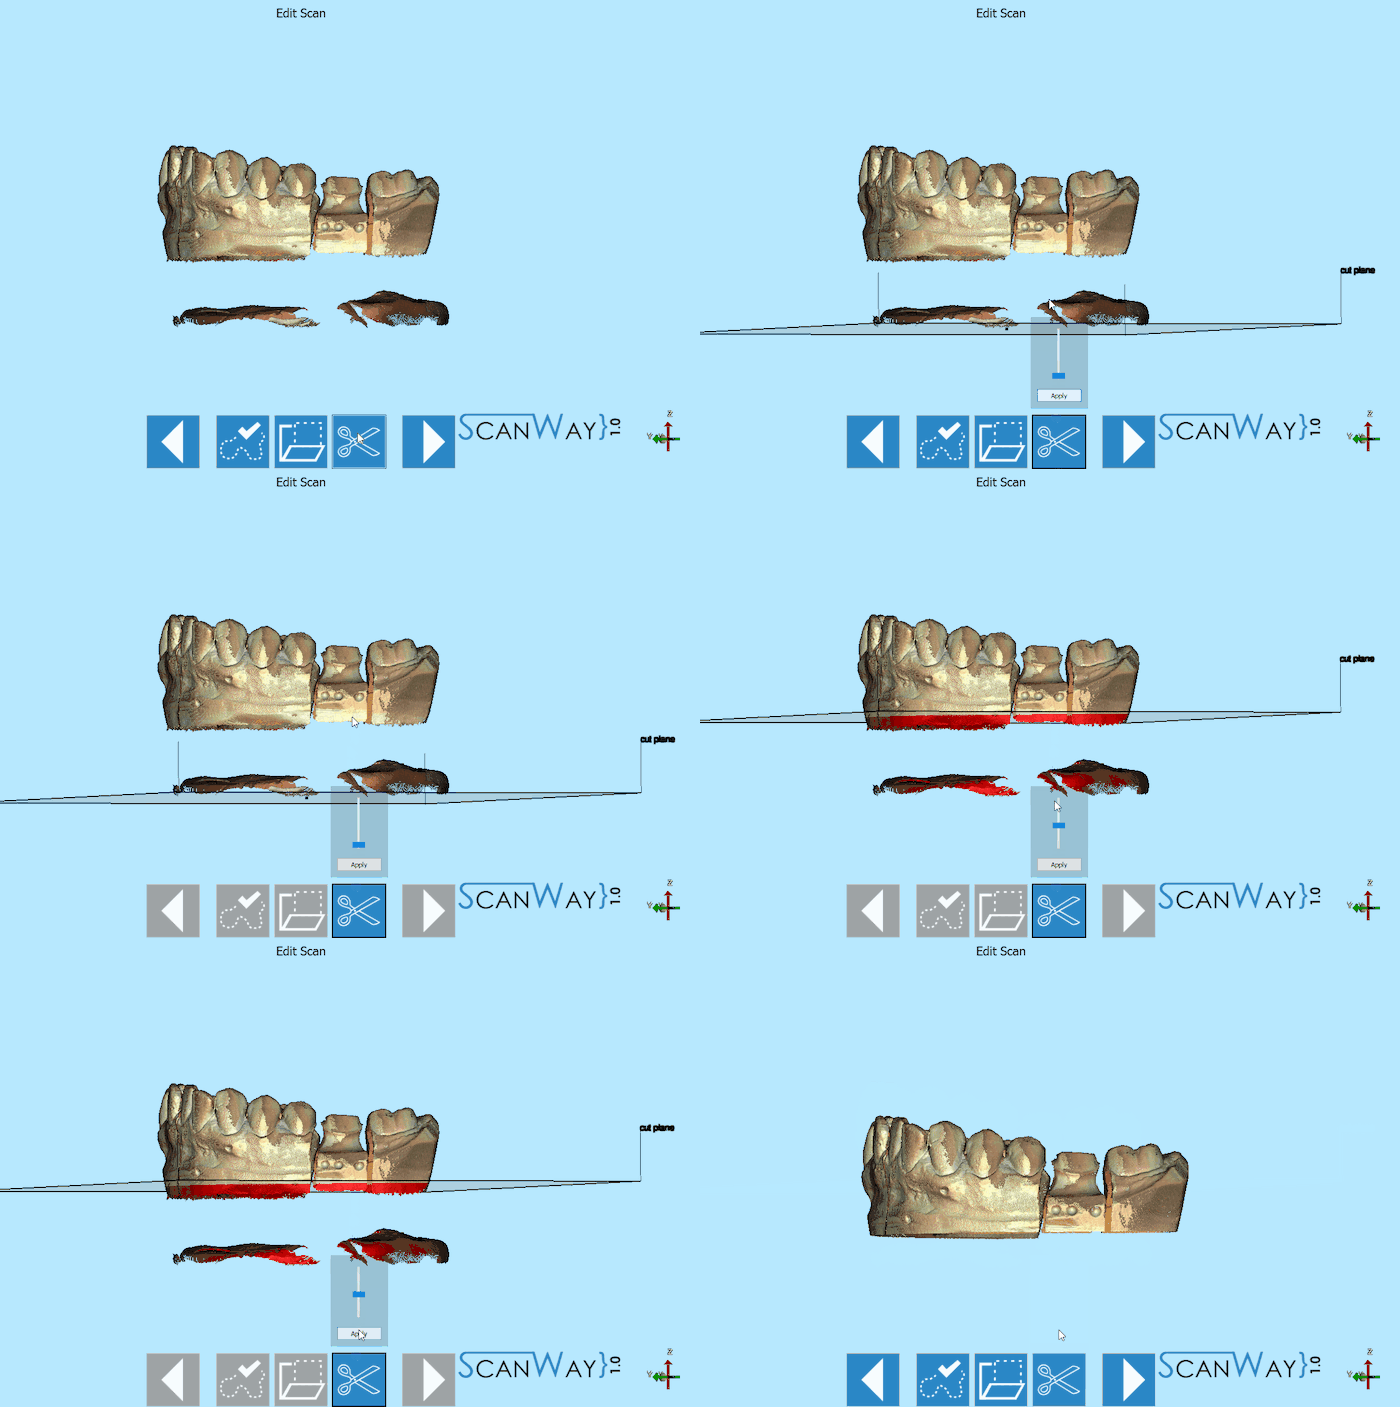
The image at this step can be both edited or trimmed. At this stage, it is actually important not to edit too much the image or cutting big chunks of information, since it would make it more difficult for the software to calculate the automatic alignment of the object to its reference.
The edit of the image can be carried out using the selection tools.
On the other hand, trimming gets very easy when the cut base tool is used.
When you are satisfied with the result click ![]() to access the next wizard step.
to access the next wizard step.
Step 3: Upper Model
The upper model Scan, like the lower model, requires the user to undergo two steps.
Scan Step
Place the upper model on the model holder and click the Scan Button![]() . Once the scan is finished the result will be shown.
. Once the scan is finished the result will be shown.
As before, if the reference rim is not placed on the model holder, the software will show the relevant message.
Click ![]() to access the edit step for the Upper model.
to access the edit step for the Upper model.
Edit Step
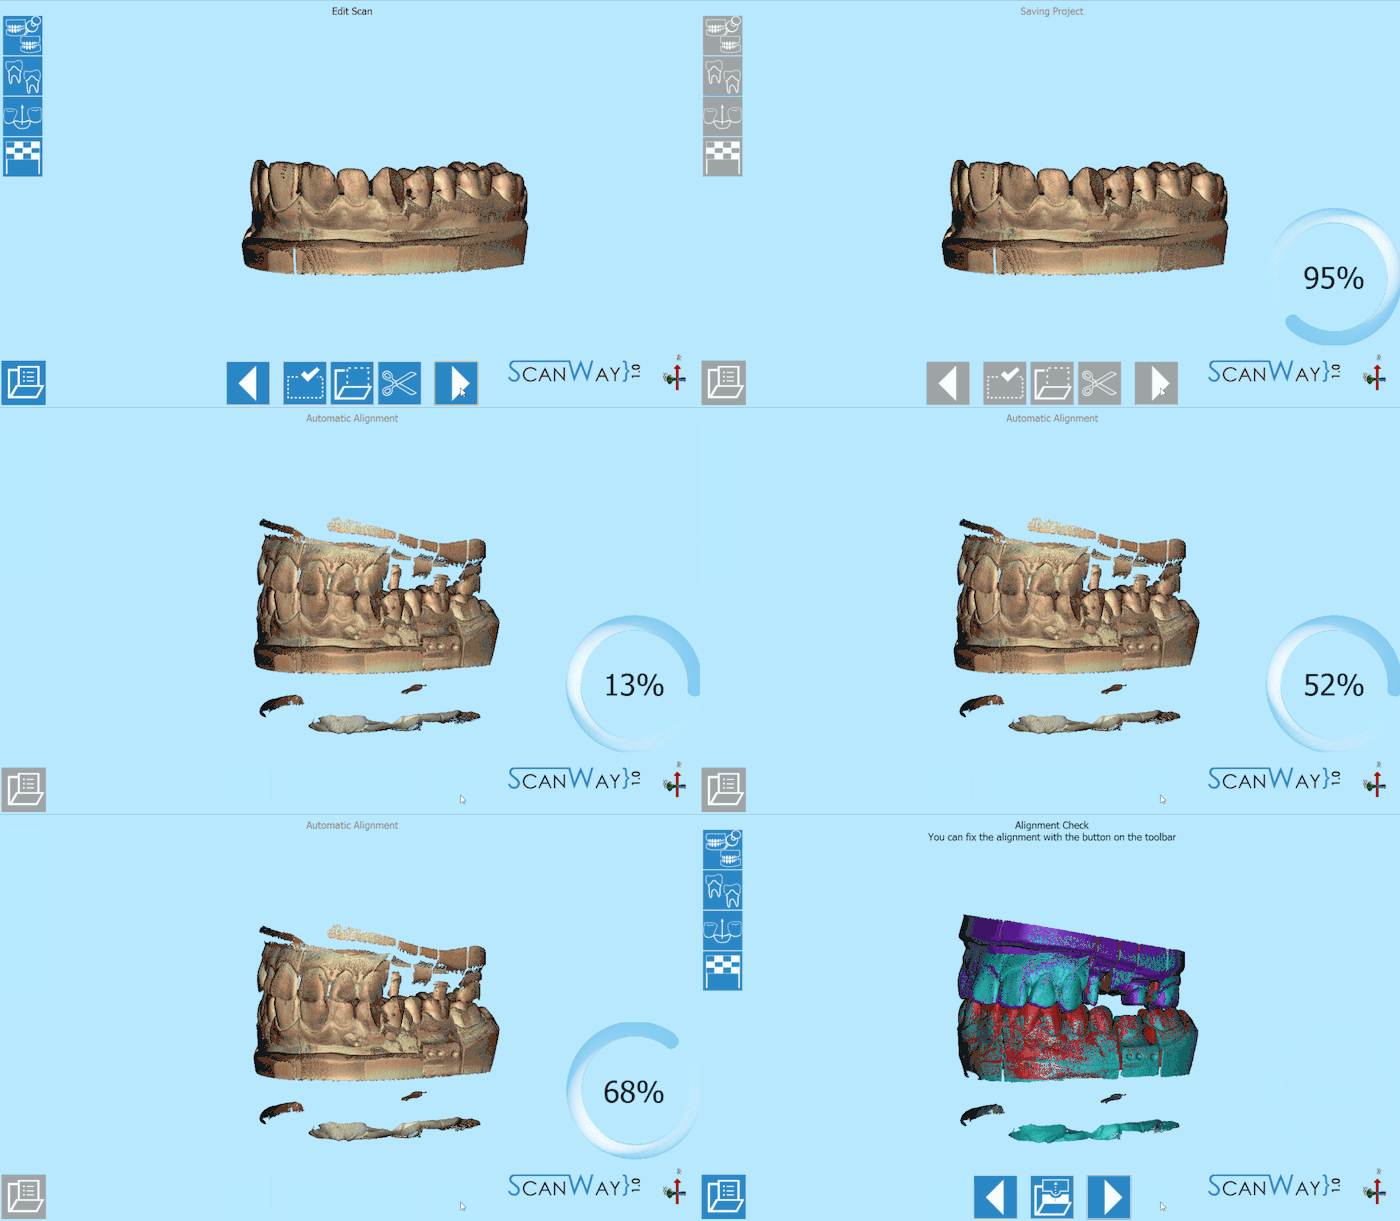
The upper model can still be edited as shown for the lower model. This time, we will edit the image using a different selection tool.
When you are satisfied with the result click ![]() to access the next wizard step.
to access the next wizard step.
Save and Align
Immediately after having pushed the ![]() button, the software saves and tries to align automatically the scanned items to their reference.
button, the software saves and tries to align automatically the scanned items to their reference.
To learn more about the automatic alignment and the manual procedure visit our Alignment Interface page.
Step 4: Dies Scan
The steps necessary to successfully scan the dies vary depending on the scanning method that the user chooses to apply: the use of the multi-die plate or the custom set-up.
With Multidie
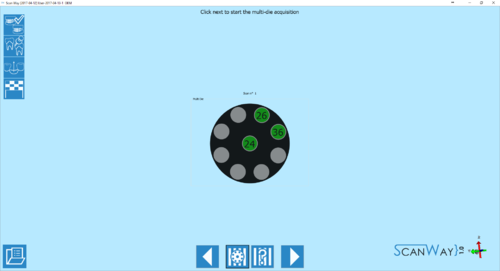
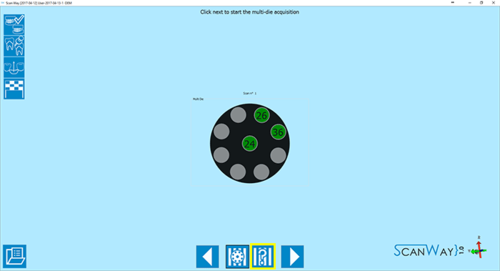
This method is applied by default by the software. It implies that the user will put the dies on the multi-die plate in the position shown by the software, which will make each die immediately recognizable and cut the steps of the wizard.
- Definition
- As mentioned, the position of the dies in the multi-die plate is pre-established by the software.
The multi-die order is based on the Universal tooth numbering, starting from the last element of the first quadrant and following in a clockwise order. Therefore the die that needs to be placed in the central element will always be the one closest to the last element of the first quadrant.
If there are more than 9 dies, a second definition step will be shown.
Click ![]() to access the multidie scan step.
to access the multidie scan step.
- Scan
- The multi-die scan interface is similar to the other steps we just explained, except for the multi-die reference that is kept as a reminder on the right side of the window, under the live view.
To proceed click the Scan Button . Once the scan is finished the result will be shown.
Click ![]() to access the edit step for the multidie scan.
to access the edit step for the multidie scan.
- Edit
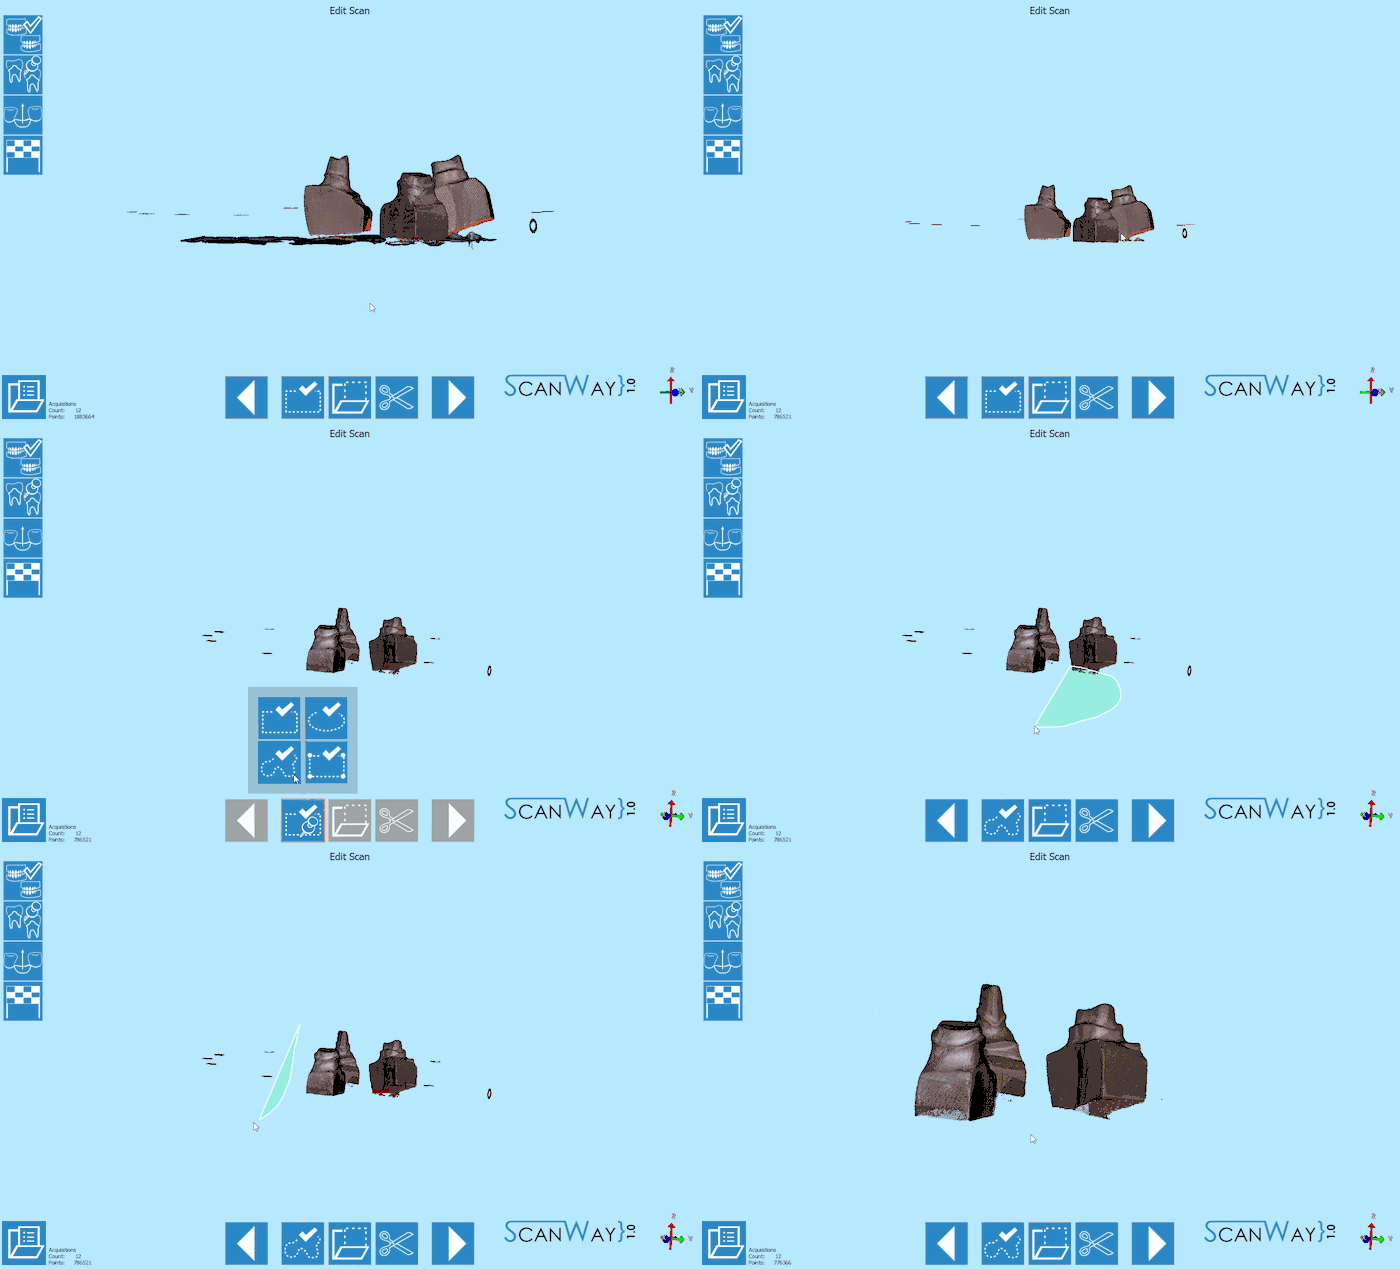
- The edit step offers the same tools we saw in previous steps. In this case, more than one tool may need to be applied.
When you are satisfied with the result click ![]() to access the next wizard step.
to access the next wizard step.
- Alignment
- After being edited the dies get aligned to their references. The result is then shown on the monitor. To learn how to change, fix or redo the alignment check the Alignment Interface page.
Custom Set-Up (Without Multidie)
The user can also decide to scan the dies in a custom order, for instance, if he needs to scan the dies on the model base. To access the custom set- up definition, click on the ![]() icon when the software presents the multi-die definition.
icon when the software presents the multi-die definition.
- Definition
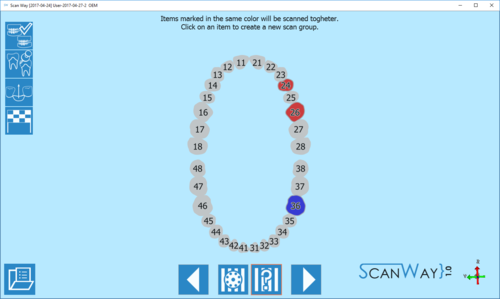
- The software proposes by default a unique scan group which means that, if not defined otherwise, the software will ask the user to scan all the stumps together. In this case, I have created a second scan group, to divide the scan of the upper dies from the scan of the lower dies. Click
 to access the scan steps.
- Scan
- Depending on the number of scan groups created, the software will propose one or more scanning steps.
First, the software requires the user to insert the dies in the scanner and acquire the items of the first group.
As a reminder, it marks the items to be scanned together on the right of the window, under the live view.
Then it will ask the user to insert the item selected for the second group. Since the second scan is an individual die, there will be no reminder on the right. Click ![]() to continue.
to continue.
- Dies Identification
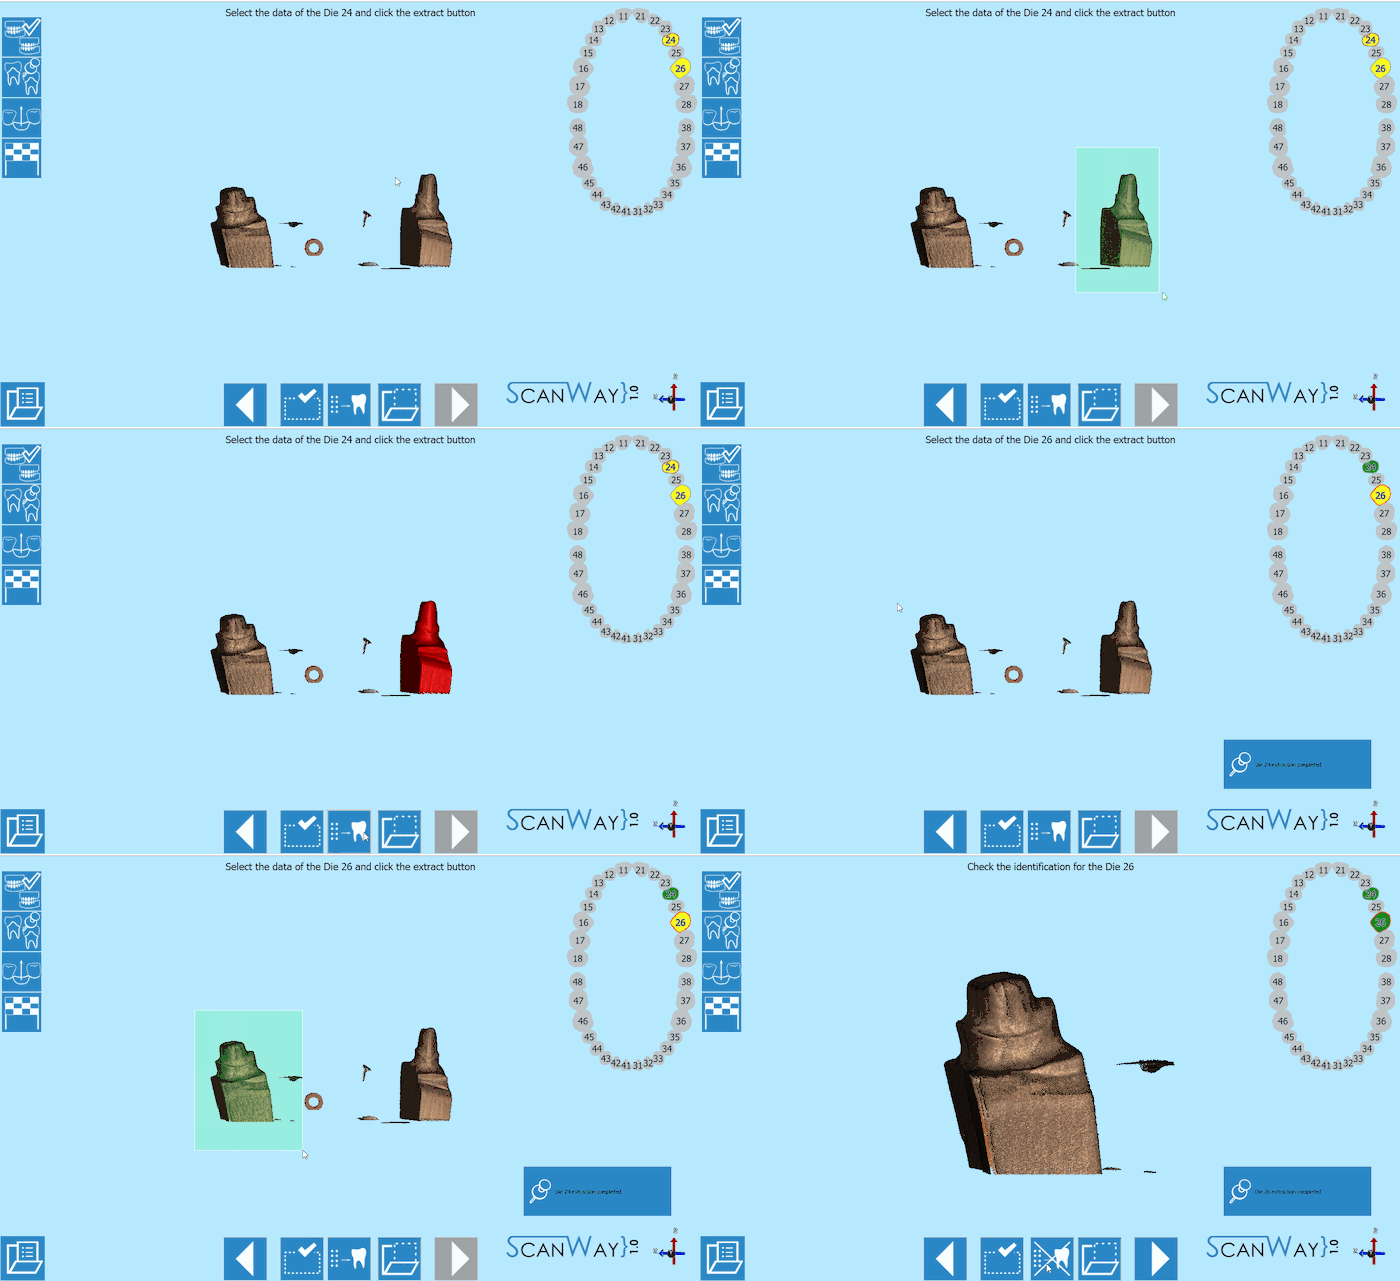
- When a scan group has more than one item, the user will be asked to separate each die from the others to correctly identify it.
This step occurs in between the scanning steps. To learn more about the identification of the dies visit the Scan Interface page. Click to continue.
- Edit
- If the scan group is formed by one individual die, there will be no identification step. Instead, the edit step will be presented. Click
 to continue.
- Alignment
- After being edited or identified the dies get aligned to their references. The result is then shown on the monitor. To learn how to change, fix or redo the alignment check the Alignment Interface page.
Step 5: Healthy and Pontics
At this stage, the project has been scanned, unless the user wants to rescan the healthy and pontics. This step is in fact a result of the scan of the scanned reference model, trimmed to exclude the parts that have been scanned individually (in this case, the dies). It sometimes happens that in the first model scan, the contact points on the healthy are not correctly recognized, which would require the user to rescan the model. Otherwise, just click ![]() to continue.
to continue.
The software will then propose a further edit step to allow the user to modify the healthy image. Proceed in the edit step as previously explained.
Step 6: Mesh Generation and Export
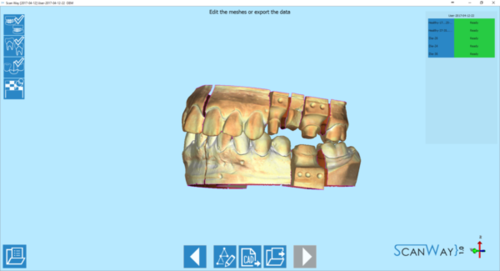
At this point, the software immediately starts mesh generation. The meshes can be edited and exported individually or as a unique image. To learn more about mesh editing visit our Mesh Tools page.
Click on the Export Button ![]() to export to CAD.
to export to CAD.
If the project has been started from Exocad, the CAD will automatically open and the design can be started immediately. Otherwise, the software will ask the user how to export the file.
