Project items and Scan Groups
The Wizard structure generates according to the project definition therefore it changes to adapt to the elements that need to be scanned for any specific project.
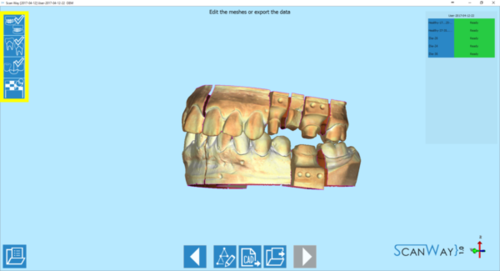
Each icon of the step list represents a scanning group or a project action. In the following image we find all the scanning groups and actions that can appear in standard projects, allthough it is unlikely or them to be found all in the same one.
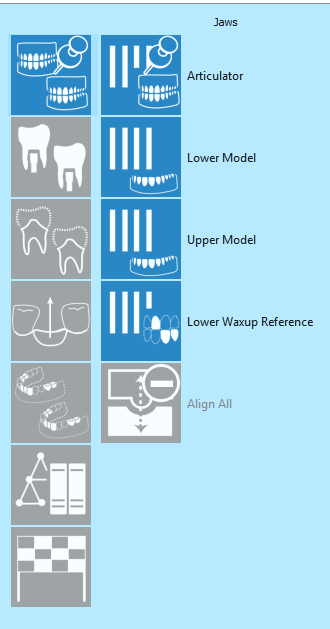
Jaws
The first group contains all the elements that will work as reference for the other scans. By clicking on the ![]() icon, the group opens and the individual steps are shown.
icon, the group opens and the individual steps are shown.
 Articulator scan or scan of the occlusion: this scan can be performed either by scanning any kind of articulator on the articulator support plate or by scanning two models one on top of the other on the normal model holder.
 Model Scan, upper or lower: if both models need to be scanned, the first one will always be the lower. For this scan, the models need to be inserted in the scanner without silicon gingivas, markers, preops or waxups.
 Waxup reference acquisition: The waxup reference needs to be scanned on top of the model to get the position reference.
 Align icon: once the items have been acquired they get aligned to their reference. This option is not available until at least two items have been scanned.
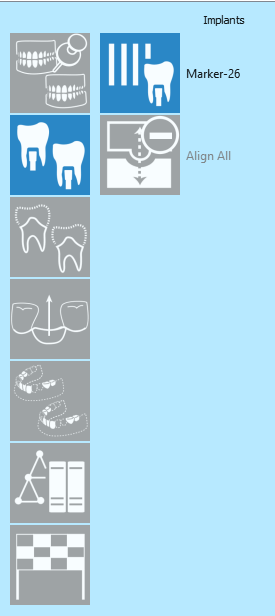
Implants
In this group ![]() are required all the marker elements that need to be scanned to acquire the position of the implants.
are required all the marker elements that need to be scanned to acquire the position of the implants.
 Marker acquisition: the markers need to be scanned on top of the analogues of the model to register the correct position of the implants. It is possible to scan multiple markers at the same time.
 Align icon: once the items have been acquired they get aligned to their reference. This option is not available until at least two items have been scanned.
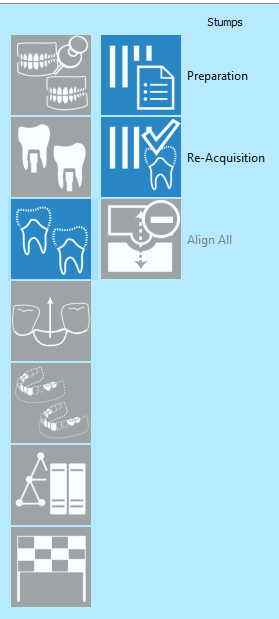
Dies
In this group ![]() it is asked to scan the dies present in the project.
it is asked to scan the dies present in the project.
 Multi die preparation: the user is required to accept the scan configuration for the dies or to create a new scan order.
- 40px Dies acquisition: the dies can be scanned either on the multi die or on the normal model holder.
 Align icon: once the items have been acquired they get aligned to their reference. This option is not available until at least two items have been scanned.


