Project items and Scan Groups
Contents
構造
ウィザードの構造はプロジェクト定義によって生成されるため、特定のプロジェクトでスキャンする必要のある要素によって変化します。
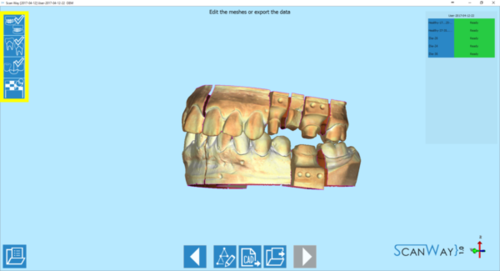
手順リストの各アイコンはスキャングループまたはプロジェクトアクションを表しています。以下の画像では、標準的なプロジェクトで表示される可能性があるすべてのスキャングループおよびアクションがありますが、すべてが同時に表示されることは希なケースです。
スキャングループ
以下は、標準的なプロジェクトで利用可能なスキャングループと、特別なプロジェクト(コンセプトクアッドモジュール/インプレッションなど)で利用可能なその他のスキャングループやアイテムです。
Jaws(顎)
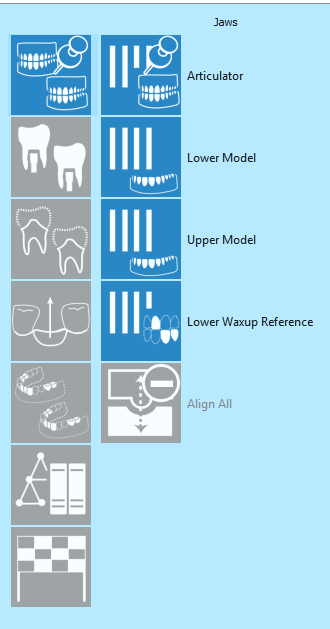
最初のグループには、その他のスキャンのレファレンスとなるすべての要素が含まれています。![]() アイコンをクリックすると、グループが開き、個々のステップが表示されます。
アイコンをクリックすると、グループが開き、個々のステップが表示されます。
 咬合器スキャンまたは咬合のスキャン: このスキャンでは、咬合器サポートプレート上の咬合器をスキャンしたり、通常のモデルホルダーに2つのモデルを重ねてスキャンしたりします。
 模型スキャン(上顎または下顎): 両側の模型をスキャンする必要がある場合は、常に下顎からスキャンします。このスキャンでは、シリコンの歯肉、マーカー、ワックスアップなどがない状態で模型をスキャナーに置きます。
 ワックスアップレファレンス取得: ワックスアップレファレンスで位置のレファレンスを取得するには、模型の上でスキャンします。
インプラント
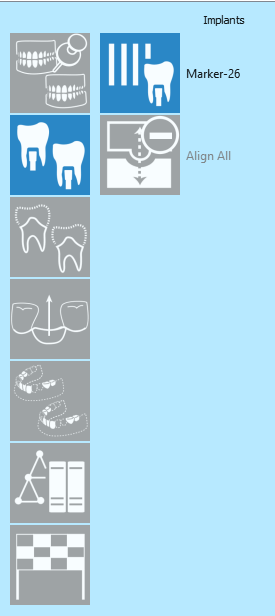
このグループ ![]() は、インプラントの位置を取得するためにスキャンが必要なすべてのマーカー要素です。
は、インプラントの位置を取得するためにスキャンが必要なすべてのマーカー要素です。
ダイ
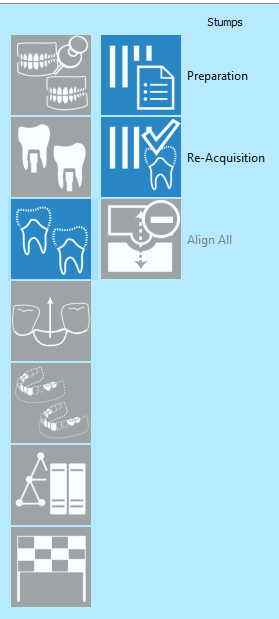
このグループ ![]() では、プロジェクトにあるダイをスキャンします。
では、プロジェクトにあるダイをスキャンします。
 Multi die preparation: the user is required to accept the scan configuration for the dies or to create a new scan order.
 Dies acquisition: the dies can be scanned either on the multi die or on the normal model holder.
Various
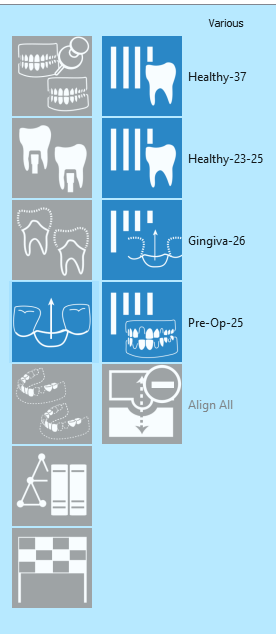
The group various, here represented with the icon ![]() , collects all the side elements of the projects, all those items that are not strictly necessary but that add valuable information at the project.
, collects all the side elements of the projects, all those items that are not strictly necessary but that add valuable information at the project.
 Healthy teeth: scan of the healthy, adjacent and pontic elements of one model. This scan is actually copied from the first acquired image of the model therefore it is seldom necessary for the user to scan these parts again.
 Gingiva Scan: scan of the silicon gingiva on top of the model when present.
 PreOp Scan: acquisition of a previous model of the patient, or previously designed anatomical part, that can be used as reference for designing the restoration.
Waxup
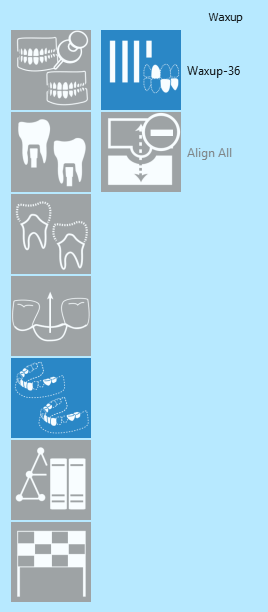
Group for the acquisition of the waxup ![]() , to be aligned with the reference scanned in the first group.
, to be aligned with the reference scanned in the first group.
 Waxup: detailed acquisition of teh waxup. In a secundary step it is also possible to scan the bottom part of the waxup; this step can be skipped.
Others
Some scan groups and items are not present in the given list, because they appear only in certain conditions and with certain license modules.
Concept Quad Scan Group
The concept quad scan group ![]() is activated if, in project definition, the chosen model type is Quadrant
is activated if, in project definition, the chosen model type is Quadrant ![]() .
.
 Quadrant scan: scan of the elements of a quadrant tray articulator. The elements will be positioned all together on the concept quad model holder, and the scanner will acquire upper model, lower model and up to 4 dies in one single scan.
Impression
The impression scan is activated if, in project definition, the chosen model type is Impression ![]() .
.
 Impression scan: scan of an impression tray. This procedure takes longer than any other due to the fact that, to scan negative items, more images are required.
Bite
The bite scan is activated if, in project definition, the antagonist is set to be a Silicon bite ![]() .
.
Wizard Actions
Alignment
In almost every scan group is also present an align icon, to match the scanned items to their reference:
 Align icon: once the items have been acquired they get aligned to their reference. This option is not available until at least two items have been scanned.
Marker Alignment
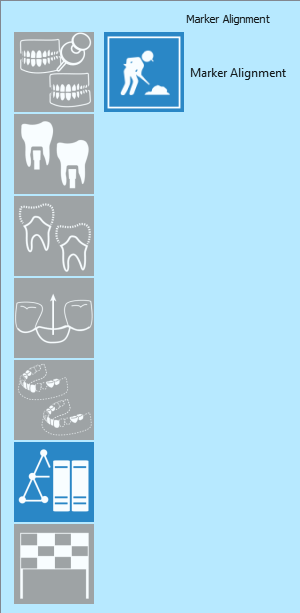
In projects with implants, one of the wizard steps is the alignment of the scanned item to the implant library ![]() .
.
 Marker alignment: alignment of the stl of the scanned marker/ scan body to its corresponding geometrical shape of the implant library.
Finalize
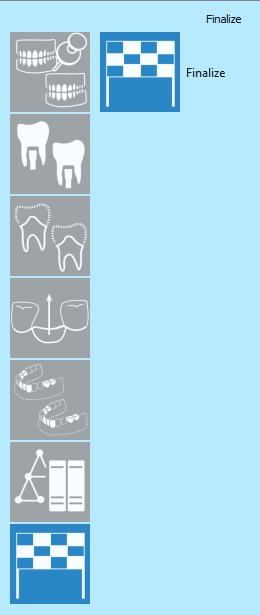
The Finalize list and button ![]() represent the last step of the project when the mesh generation is created and the file can be exported.
represent the last step of the project when the mesh generation is created and the file can be exported.
