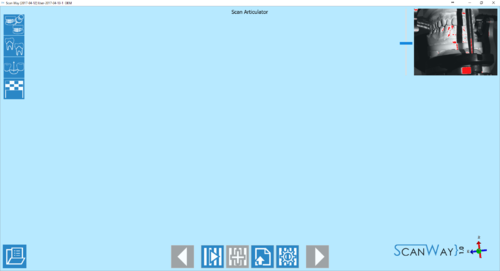
The scan interface is the part of the wizard that regulates the acquisition of 3D images. The main toolbar offers specific tools for scanning and the live view of the cameras on the ipper right corner allows to check the position of the object in the scannign chamber and the amount of light that hits it.
Contents
Scan Toolbar
The actions in the scan toolbar may vary depending on the ongoing step. Here below a list of all the possible icons, their application and reference step:
- Previous
- Goes back to the previous step. Icon not active during the first scanning step.
- Scan
- Starts the acquisition procedure specific for the ongoing step. This icon is always available.
- Integrate
- Allows to add images to the ones already acquired for the ongoing step. This icon is not available in the articulator scan step and before the scan is actually perfomed. This action will be better explained later in this page.
- 40px Import
- Allows to import a file for the required image instead of scanning. This icon is always available.
- Advanced parameters
- Allows to set a different scanning procedure for the ongoing step. This action will be better explained later in this page.
- Copy from Reference
- Allows to copy an image previously acquired for the ongoing step. This action is available in the Helthy and pontics, and in the Waxup scanning steps. This action is fully automatic, which means the copied image is already shown in the step without having to click on the relevant icon. The user can still decide to scan the object again and then to copy the frist reference if the last scan is not satisfactory.
- Next
- Goes forward one step in the project. This icon is available when the ongoing step is complete or in steps that can be skipped.
When the scan is launched, a progress wheel will be shown. The scan can be stopped by clicking on the button.
Integration
The integration action allows to add information to the scan without having to rescan the object with the full procedure. By clicking on the Template:Inline Button button, the integration panel opens.
There are two way to carry out an integration. To choose one of the two methods click on the relevant button, to then start the integration click on the Integrate button:
- Follow View
- Click on Follow View. Move the 3d object in the space and center the view on the missing information. Check that the point that you need to scan again is visible in the live view of the cameras and click on Integrate.
- Smart
- Click on Smart. A little progress bar will appear and, when it gets to 100%, all the holes or missing information will be marked in yellow on the acquired image. Left click near the yellow lines to select an area that needs to be rescanned. The selected areas will be marked in red. Click on integrate to launch the scan sequence that will try to cover up all the selected areas of missing information.
