Difference between revisions of "NewPrjFree/it"
(Created page with "È possibile scrivere liberamente nei campi Dottore e Note. In quello Paziente, è possibile:") |
(Created page with "* scrivere liberamente nel campo * creare un nuovo profilo cliccando sul bottone ''Cerca/Crea'' * cercare nel database per un profilo già esistente cliccando sul bottone ''Ce...") |
||
| Line 26: | Line 26: | ||
È possibile scrivere liberamente nei campi Dottore e Note. In quello Paziente, è possibile: | È possibile scrivere liberamente nei campi Dottore e Note. In quello Paziente, è possibile: | ||
| − | * | + | * scrivere liberamente nel campo |
| − | * | + | * creare un nuovo profilo cliccando sul bottone ''Cerca/Crea'' |
| − | * | + | * cercare nel database per un profilo già esistente cliccando sul bottone ''Cerca/Crea'' |
The '''Search/Create Button''' opens the following window: | The '''Search/Create Button''' opens the following window: | ||
Revision as of 13:28, 17 May 2017
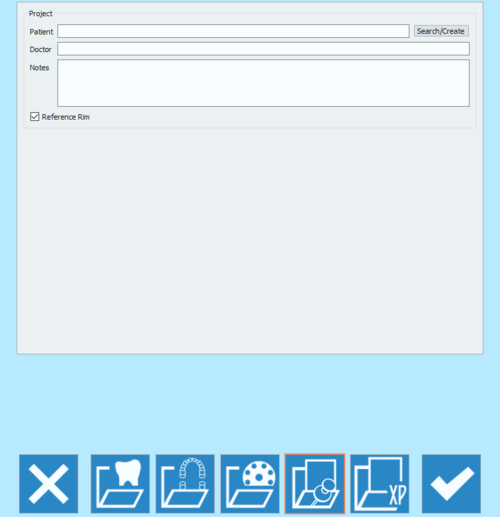
La quarta icona della pagina di definizione del progetto apre la pagina Modalità Esperto.
La Modalità Esperto, a differenza di tutti gli altri progetti, non ha una procedura guidata. L'utente è dunque in grado di scansionare qualsiasi elemento in qualsiasi momento senza alcuna restrizione. Questo significa anche che l'utente dovrà decidere:
- che profilo di scansione usare per gli elementi da acquisire,
- in quale ordine scansionare gli elementi,
- come allineare gli elementi e rispetto a quale riferimento,
- come fare mesh ed esportare gli elementi scansionati.
Per utenti Esperti, questo tipo di progetto può veramente far risparmiare tempo, mentre per i principianti potrebbe portare ad inutili perdite di tempo.
Poiché il progetto non ha struttura iniziale, nella fase di definizione non bisogna impostare praticamente nulla.
In pratica l'utente deve solo inserire alcune Informazioni Generali:
- Nome del Paziente
- Nome del Dottore (Opzionale)
- Note (Opzionale)
- Una casella di spunta per decidere se usare o meno l'Anello di Riferimento.
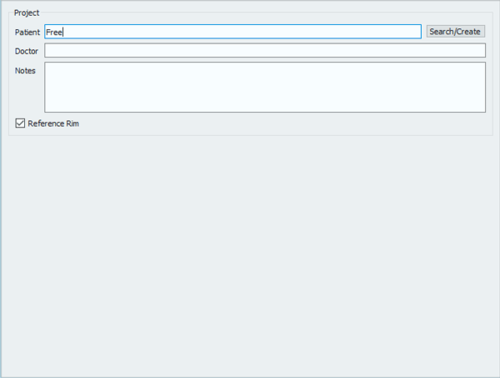
È possibile scrivere liberamente nei campi Dottore e Note. In quello Paziente, è possibile:
- scrivere liberamente nel campo
- creare un nuovo profilo cliccando sul bottone Cerca/Crea
- cercare nel database per un profilo già esistente cliccando sul bottone Cerca/Crea
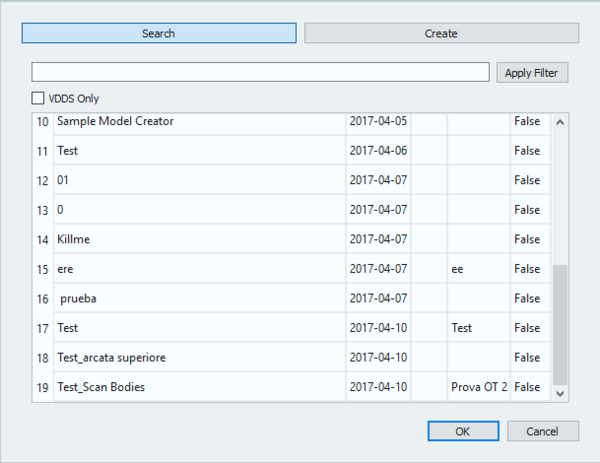
The Search/Create Button opens the following window:
This window allows to search the project database for already existing patients. A filter can be applied and, for those who use VDDS protocols, the research can be restricted to that specific database.
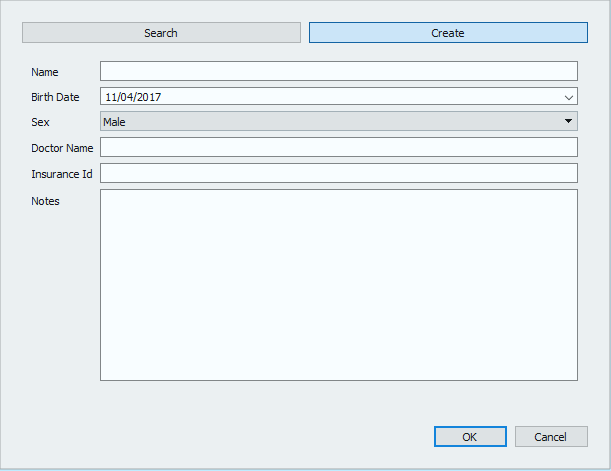
By clicking on the Create button, the following window opens:
The patient creation panel allows to input general information rrgarding the patient and the treatment, such as:
- The patient's name
- The patient's birth date
- The patient's Sex
- The doctor's name
- The patient's insurance ID, where applies
- Some notes
Once all the information has been filled in, select Ok to accept the data or Cancel to discard the changes and go back to the project definition page.
To start the project accept the definition with the ![]() button.
button.
To find specific information on how to scan in Free / Expert mode, go to the Free Scanning Project example page.


