Calibrate your scanner
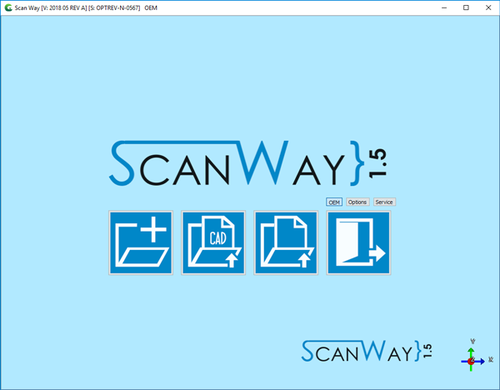
Per calibrare, accedere all'area modalità Service dalla pagina di benvenuto cliccando su Service.
La pagina Service permette all'utente di controllare la connessione dello scanner e di eseguire tutte le calibrazioni di cui lo scanner necessita per funzionare correttamente. Per saperne di più, vedi la pagina Service.
In questa pagina si chiarirà come calibrare lo scanner.
Ricalibrare la Testa
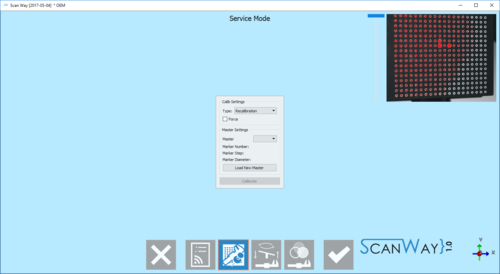
Per avviare questo strumento, cliccare sul bottone Calibrazione Testa ![]() ;
;
Esistono 2 tipi di calibrazione:
- Ricalibrazione
- Procedura rapida per aggiornare periodicamente la calibrazione dello scanner o da eseguirsi in seguito allo spostamento dello scanner in un'altra posizione
- Calibrazione Completa
- Procedura più complessa da eseguirsi dopo una riparazione di tipo meccanico all'hardware
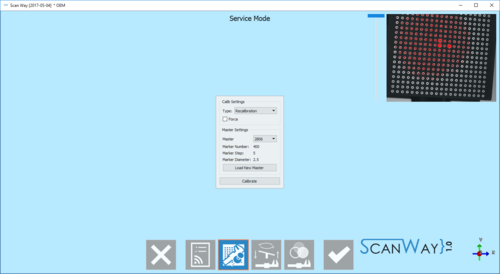
Questo strumento si avvale del Kit di Calibrazione per effettuare una ricalibrazione della Testa Ottica dello scanner. La procedura si sviluppa come segue:
- Inserire il master di calibrazione nello scanner nella posizione corretta
- Selezionare il tipo di calibrazione dal menu a tendina
- Nel dialog di calibrazione, selezionare nel menù a tendina il file xml corrispondente a quel master di calibrazione specifico
- Cliccare su Avvia
If the calibration kit name is not available in the drop down menu, the Load New Master Xml button can be used to add a new calibration kit from the appropriate Xml description file.
The calibration procedure is automatic. Once finished, the software will show one of the following messages:
- 'Scanner Already Calibrated' : the calibration is not necessary
- 'Scanner Recalibrated Successfully' : the calibration has been completed
- 'Scanner Recalibration Failed' : calibration has to be repeated
If the calibration was successful, the Axes Calibration starts automatically.
Recalibrate Axes
This tool is used to check the movement system of the scanner. The scanner will scan an object, analyze it, and use this data to calibrate the movement system.
This tool will start automatically after a Head Recalibration or can be started manually with the ![]() button.
button.
When the Dynamic Articulation Module is enabled, calibrate the axis with the specific Axis Calibration Object. From that moment on, any recalibration needs to be performed with the same object. Otherwise, axis recalibration will fail.
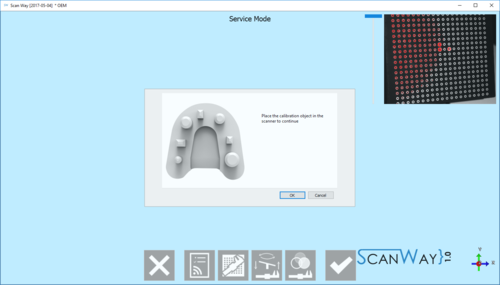
The software will show an image of the object needed to calibrate the scanner: either the calibration object (if the Dynamic articulation module is active on the license) or a stone model.
- Put the calibration object inside the scanner
- Click Recalibrate Axis
- Click Ok when prompted
The calibration procedure is automatic. Once it is finished, the software will show one of the following messages:
- 'Axes Recalibration Successfull' : the calibration has been completed,
- 'Axes Recalibration Successfull, Dynamic Articulation Calibration Failed' : the calibration has been completed, however the dynamic articulation positioning will not work. This message shows when the dynamic articulation module is active on the license, but the scanner has been calibrated with a normal stone model.
- 'Axes Recalibration Failed' : calibration has to be repeated
Color Calibration
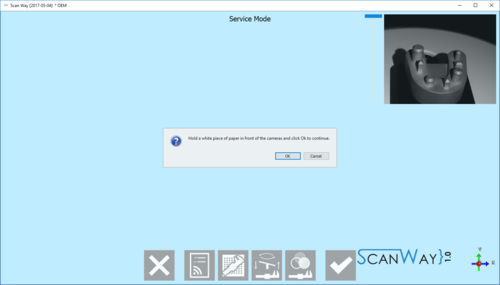
This last calibration, that can be opened by clicking on the icon ![]() , allows to calibrate the acquired colors of the scanner to have realistic color results.
, allows to calibrate the acquired colors of the scanner to have realistic color results.
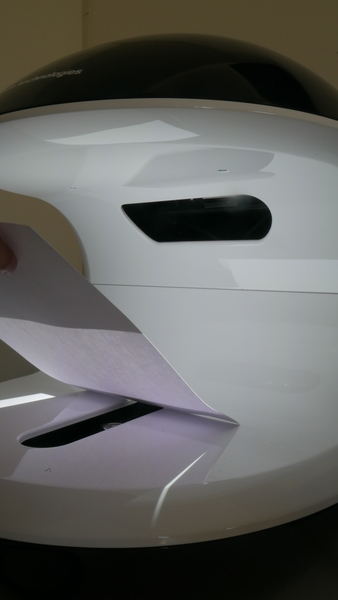
To calibrate the colors, hold a piece of paper in front of the cameras, as prompted by the message, and click OK.
It is important that the whole field is covered by the white paper. Take a look at the following pictures to replicate a correct positioning of the white sheet.
