Multi Die Project
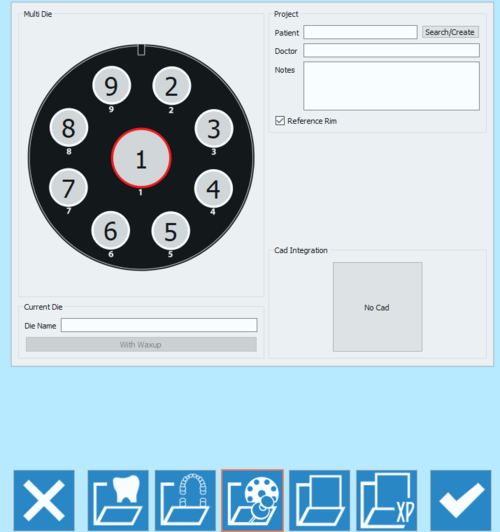
プロジェクト定義ページの3つ目のアイコンを押すと、マルチダイプロジェクトページが開きます。
マルチダイプロジェクトを使い、異なる患者からの複数の歯型を、単一のプロジェクトでスキャンできます。
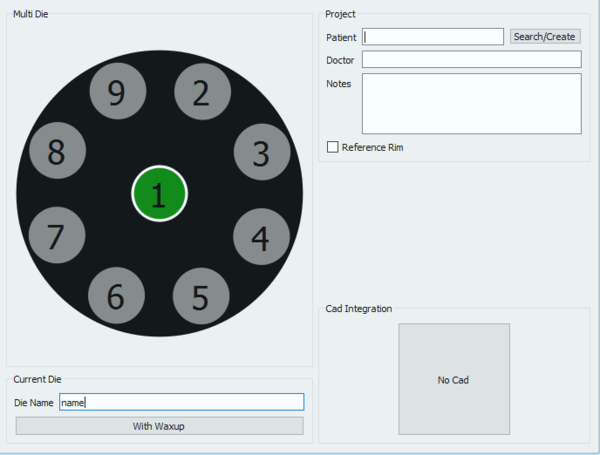
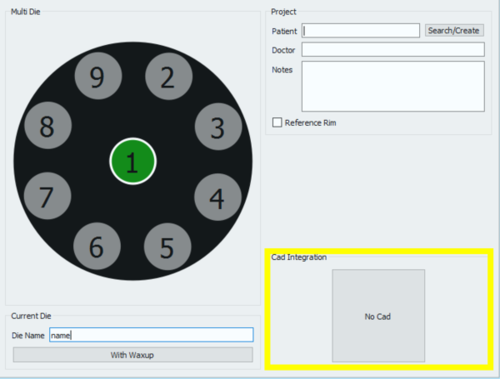
プロジェクト定義ページには、3つのセクションがあります。
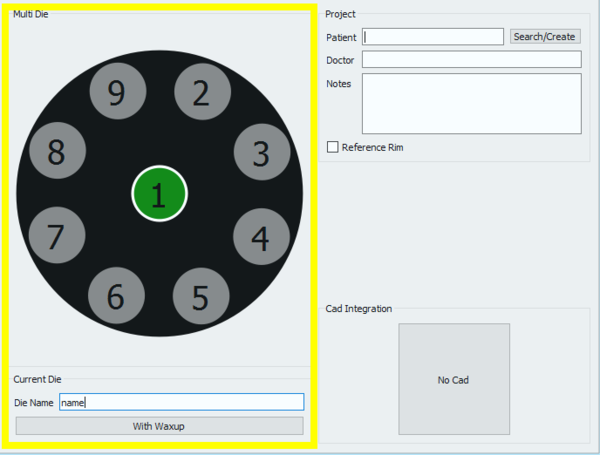
マルチダイの定義
ケースを設定するには、マルチダイの各位置をクリックして、Die Name(ダイ名)の欄で患者名を定義します。
その要素にワックスアップスキャンを追加するには、Current Die(現在のダイ)セクションのWith Waxup(ワックスアップ)ボタンをクリックします。
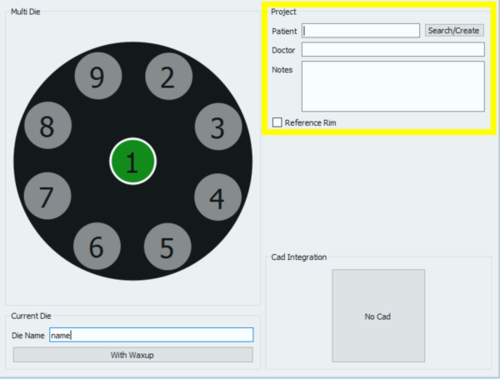
プロジェクト
Project(プロジェクト)セクションでは、一般情報を入力できます。
- 患者名
- ドクター名(オプション)
- メモ(オプション)
- リファレンスリムの使用有無を決めるチェックボックス
Doctor(ドクター名)およびNotes(メモ)には自由に入力できます。Patient(患者名)では、以下の選択肢があります。
- Write freely in the box
- Create a new profile clicking on the Search/Create button
- Search the database for an already existing profile clicking on the Search/Create button
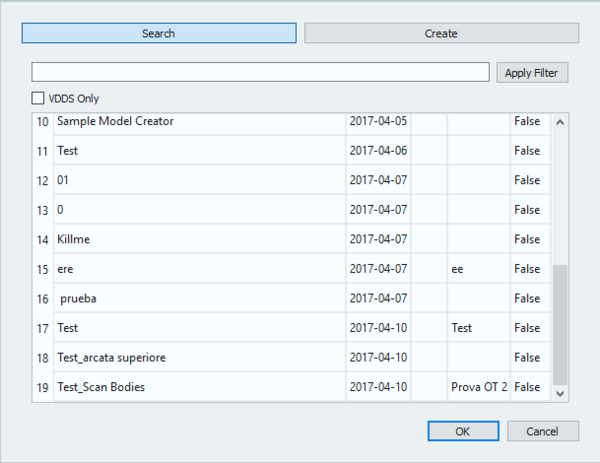
The Search/Create Button opens the following window:
This window allows to search the project database for already existing patients. A filter can be applied and, for those who use VDDS protocols, the research can be restricted to that specific database.
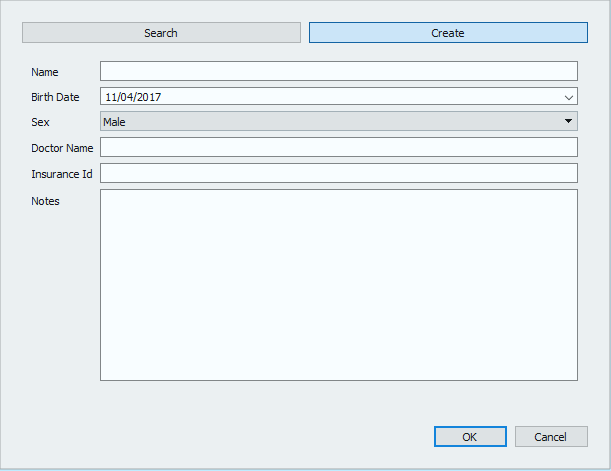
By clicking on the Create button, the following window opens:
The patient creation panel allows to input general information regarding the patient and the treatment, such as:
- The patient's name
- The patient's birth date
- The patient's sex
- The doctor's name
- The patient's insurance ID, where applies
- Some notes
Once all the information has been filled in, select Ok to accept the data or Cancel to discard the changes and go back to the project definition page.
CAD Integration
When the project is started directly from Exocad, the STL files produced in the scanning process will be transmitted to Exocad in just one click. On the other end, if the project gets created in the scanning software, the automatic export to CAD will not be configured, unless it is selected in this section.
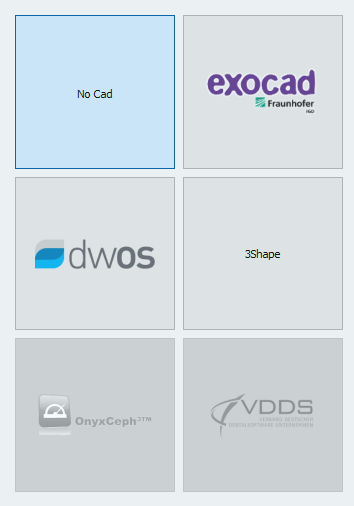
By clicking on the No CAD box the CAD selection window opens
and it allows to choose one of the software integrated with our scanning system for automatic trasmission of the STL information.
- Exocad
- VDDS protocol (for orthodontics)
- Onyx Ceph (for orthodontics)
If No Cad is selected, the software will then ask the user to define an export path for the STL files.
To start the project accept the definition with the ![]() button.
button.
To find specific information on how to scan in Free / Expert mode, go to the MultiDie Project example page.
