Multi Die Project
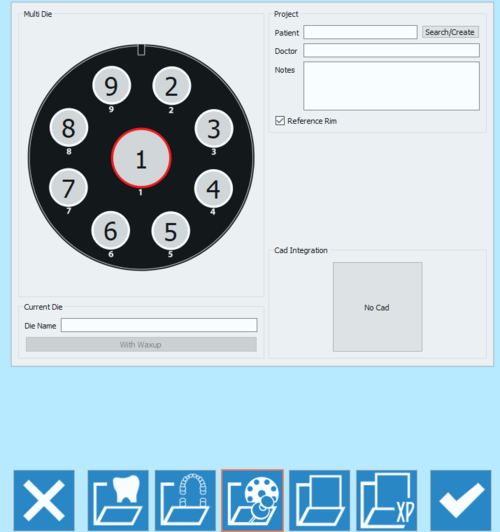
La terza icona della pagina di definizione del progetto apre la pagina Progetto con Multi Die.
Use the Multi-Die Project to scan different dies from different patients in one single project.
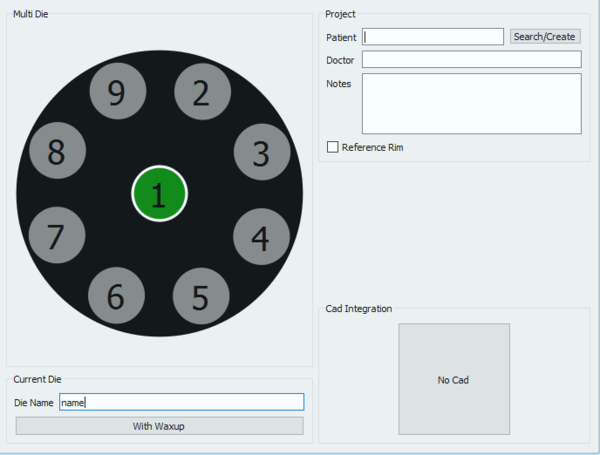
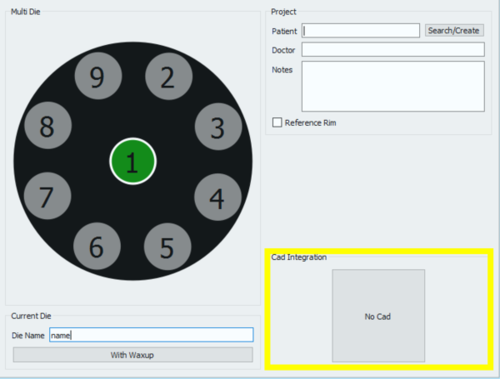
The Project definition panel is divided in 3 sections.
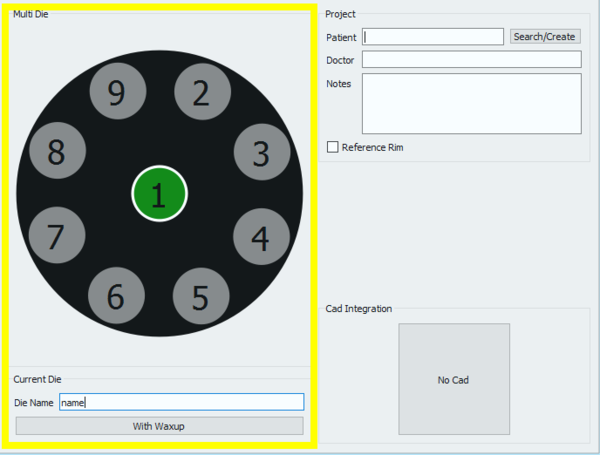
MultiDie definition
To set the case, click on each multi-die position and define the name of each patient in the Die Name field.
To add the Waxup scan for that element, click on the With Waxup button in the Current Die Section.
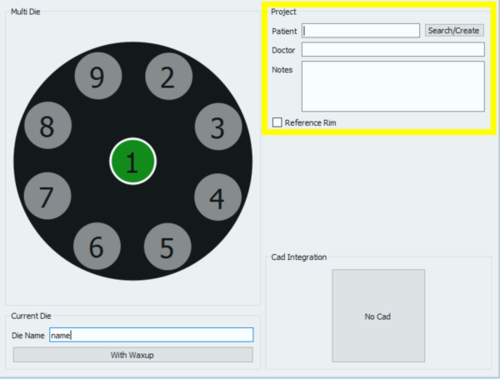
Project
The Project section allows the user to input some General Information:
- Patient's name
- Doctor's name (Optional)
- Notes (Optional)
- A check box to decide wether or not to use the Reference Rim.
It is possible to write freely in the Doctor and Notes boxes. As for the Patient, it is possible to:
- write freely in the box
- Create a new profile clicking on the Search/Create button
- Search the database for an already existing profile clicking on the Search/Create button
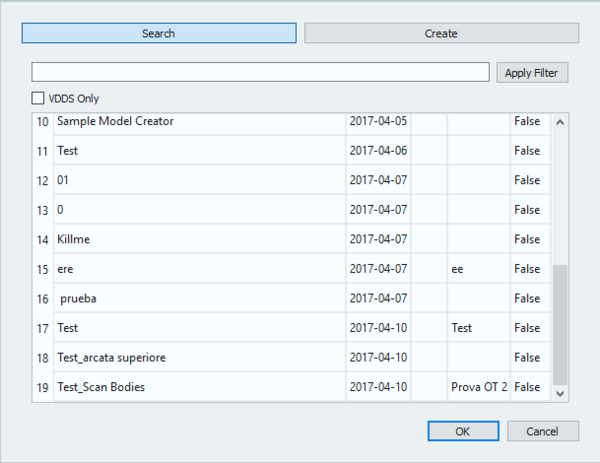
The Search/Create Button opens the following window:
This window allows to search the project database for already existing patients. A filter can be applied and, for those who use VDDS protocols, the research can be restricted to that specific database.
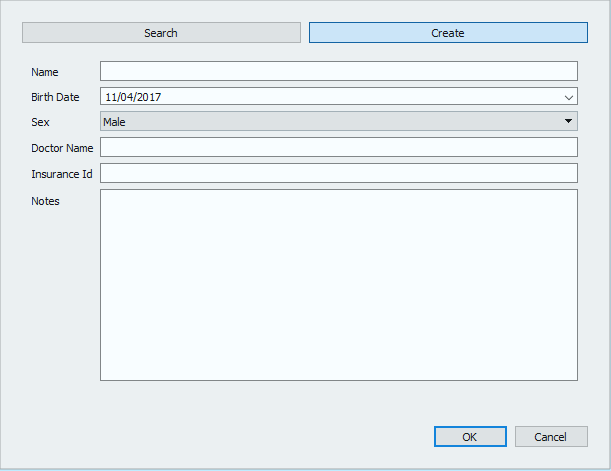
By clicking on the Create button, the following window opens:
The patient creation panel allows to input general information rrgarding the patient and the treatment, such as:
- The patient's name
- The patient's birth date
- The patient's Sex
- The doctor's name
- The patient's insurance ID, where applies
- Some notes
Once all the information has been filled in, select Ok to accept the data or Cancel to discard the changes and go back to the project definition page.
Cad Integration
When the project is started directly from Exocad, the STL files produced in the scanning process will be transmitted to Exocad in just one click. On the other end, if the project gets created in the scanning software, the automatic export to CAD will not be configured, unless it is selected in this section.
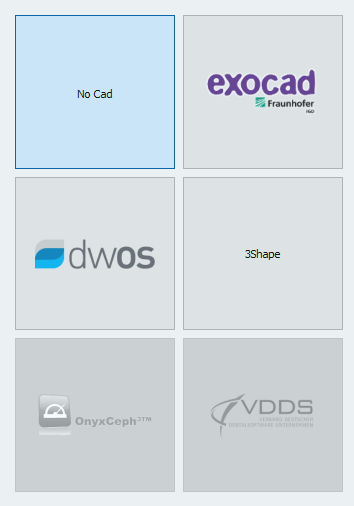
By by clicking on the No Cad box the CAD selection window opens.
and it allows to choose one of the software integrated with our scanning system for automatic trasmission of the STL information.
- Exocad
- VDDS protocol (for orthodontics)
- Onyx Ceph (for orthodontics)
If No Cad is selected, the software will then ask the user to define an export path for the STL files.
To start the project accept the definition with the ![]() button.
button.
To find specific information on how to scan in Free / Expert mode, go to the MultiDie Project example page.
