Project Options
Jump to navigation
Jump to search
Structure
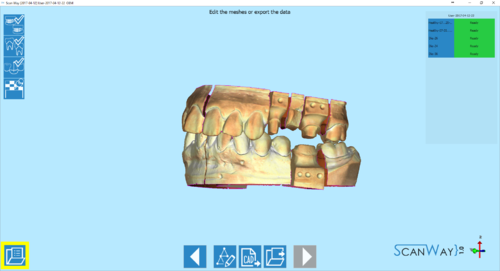
The Icon ![]() on the lower left corner of the interface opens the project options menu.
on the lower left corner of the interface opens the project options menu.
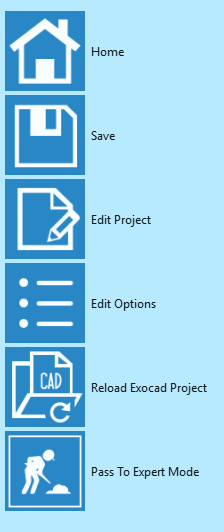
 Home
Home - Goes back to the Welcome Page.
 Save
Save - Saves the project and all its changes.
 Edit Project
 - Opens the Edit Project dialog, that will be explained later in this page.
 Edit Options
- Opens the Options panel, already explained in detail in its dedicated page.
 Reload Exocad Project
- When modifications are made to the original Exocad project in the Dental DB, this options changes the scanning project based on the changes made in the Dental DB.
- 40px Pass to Expert Mode
- Closes the wizard and enters the Expert Mode to allow the user to choose the scanning order freely.
Edit Project
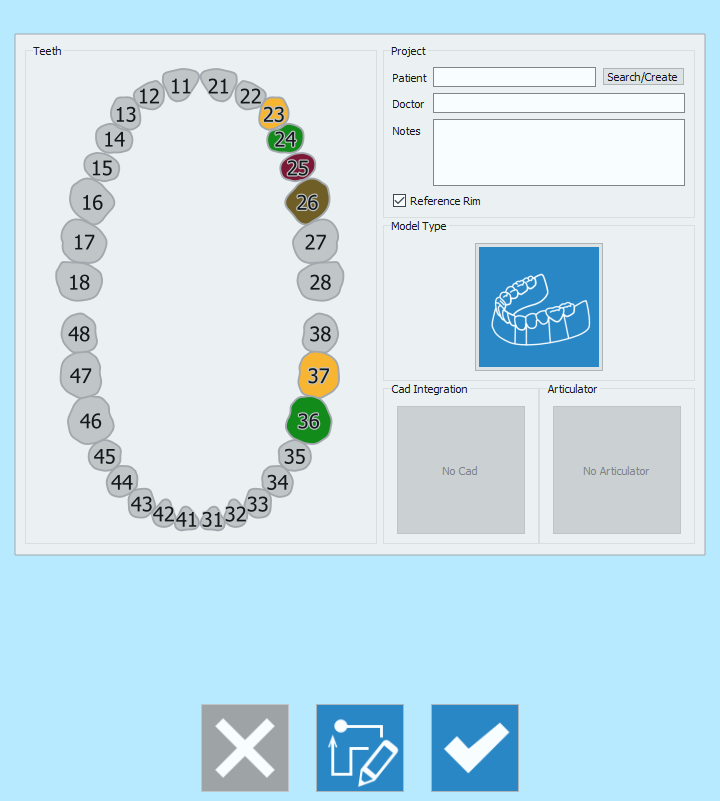
The icon ![]() opens the edit project dialog.
opens the edit project dialog.
At this point, only the general information of the Project Area can be changed. To allow bigger changes, regarding all the other parts of the Project Definition click on the icon ![]() .
.


