Difference between revisions of "W Interface/ja"
Jump to navigation
Jump to search
(Created page with "ツールや表示されるメッセージや項目は変わりますが、インターフェースの構造は一貫しています。") |
(Updating to match new version of source page) |
||
| (11 intermediate revisions by one other user not shown) | |||
| Line 1: | Line 1: | ||
{{DISPLAYTITLE:Wizard Interface|noerror}} | {{DISPLAYTITLE:Wizard Interface|noerror}} | ||
| − | + | <div class="mw-translate-fuzzy"> | |
| + | ScanWayのウィザードインターフェースは、ユーザーがすぐに使うことができるよう、ユーザーフレンドリーな設計になっています。 | ||
| + | </div> | ||
{{Screenshot|Wizard-interface.PNG}} | {{Screenshot|Wizard-interface.PNG}} | ||
| + | <div class="mw-translate-fuzzy"> | ||
ツールや表示されるメッセージや項目は変わりますが、インターフェースの構造は一貫しています。 | ツールや表示されるメッセージや項目は変わりますが、インターフェースの構造は一貫しています。 | ||
| + | </div> | ||
| − | + | 左上から順番に、以下の項目が表示されています。 | |
| − | ; [[Project-elements| | + | ; [[Project-elements|ウィザードステップ]]: ウィザードとプロジェクトの進行状況がアイコンで表示されます。 |
{{Screenshot|Wizard-interface-steps.png}} | {{Screenshot|Wizard-interface-steps.png}} | ||
| − | ; [[Project-options| | + | ; [[Project-options|プロジェクトオプション]]: プロジェクトに関するオプションは、インターフェースの左下にある {{Inline button|menuAction.png}} ボタンからアクセスできます。 |
{{Screenshot|Wizard-interface-options.png}} | {{Screenshot|Wizard-interface-options.png}} | ||
| − | ; | + | ; 手順: プロジェクトのステップやその実行方法に関する情報を示したテキストが表示されます。 |
{{Screenshot|Wizard-interface-instructions.png}} | {{Screenshot|Wizard-interface-instructions.png}} | ||
| − | ; [[Interaction| | + | ; [[Interaction|3Dビュー]]: 選択されたオブジェクトのビューで、ユーザーが操作できます。 |
{{Screenshot|Wizard-interface-view.png}} | {{Screenshot|Wizard-interface-view.png}} | ||
| − | ; | + | ; アクションツールバー : 一連のツールとアクションで、これはユーザーが実行してるステップによって変化します。主なアクションバーには、[[Scan|部品の新規スキャン]]、[[Edit|画像の編集]]、[[Align|アライメント]]、[[Mesh|メッシュの編集]]があります。 |
{{Screenshot|Wizard-interface-actions.png}} | {{Screenshot|Wizard-interface-actions.png}} | ||
| − | ; | + | ; メッシュまたはライブビュー: 右上には、このプロジェクトで利用可能なメッシュのリストが表示されます。スキャン中には、カメラのライブビューが表示されます。 |
{{Screenshot|Wizard-interface-data.png}} {{Screenshot|Wizard-interface-live.png}} | {{Screenshot|Wizard-interface-data.png}} {{Screenshot|Wizard-interface-live.png}} | ||
Latest revision as of 15:30, 1 June 2018
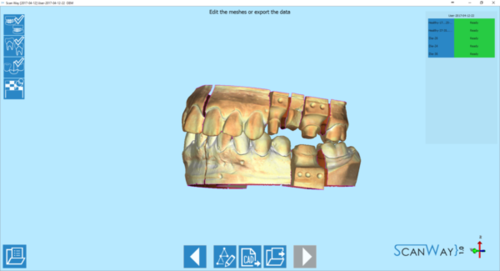
ScanWayのウィザードインターフェースは、ユーザーがすぐに使うことができるよう、ユーザーフレンドリーな設計になっています。
ツールや表示されるメッセージや項目は変わりますが、インターフェースの構造は一貫しています。
左上から順番に、以下の項目が表示されています。
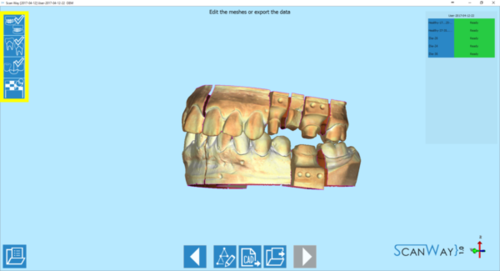
- ウィザードステップ
- ウィザードとプロジェクトの進行状況がアイコンで表示されます。
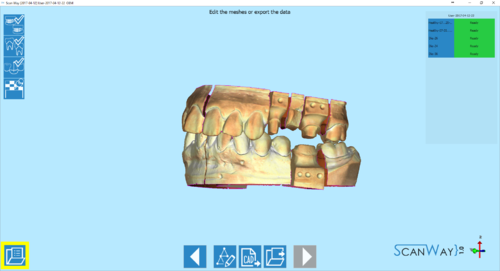
- プロジェクトオプション
- プロジェクトに関するオプションは、インターフェースの左下にある
 ボタンからアクセスできます。
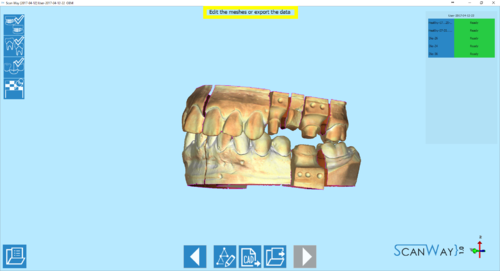
- 手順
- プロジェクトのステップやその実行方法に関する情報を示したテキストが表示されます。
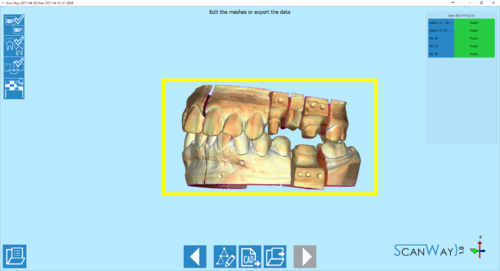
- 3Dビュー
- 選択されたオブジェクトのビューで、ユーザーが操作できます。
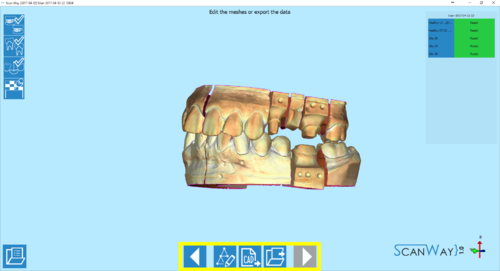
- アクションツールバー
- 一連のツールとアクションで、これはユーザーが実行してるステップによって変化します。主なアクションバーには、部品の新規スキャン、画像の編集、アライメント、メッシュの編集があります。
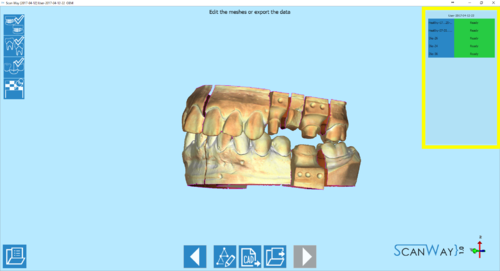
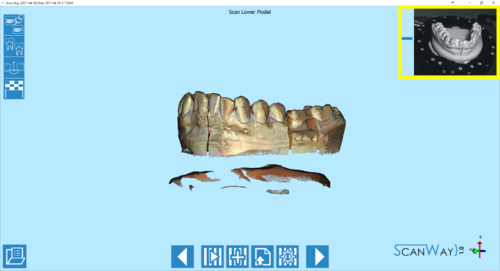
- メッシュまたはライブビュー
- 右上には、このプロジェクトで利用可能なメッシュのリストが表示されます。スキャン中には、カメラのライブビューが表示されます。
